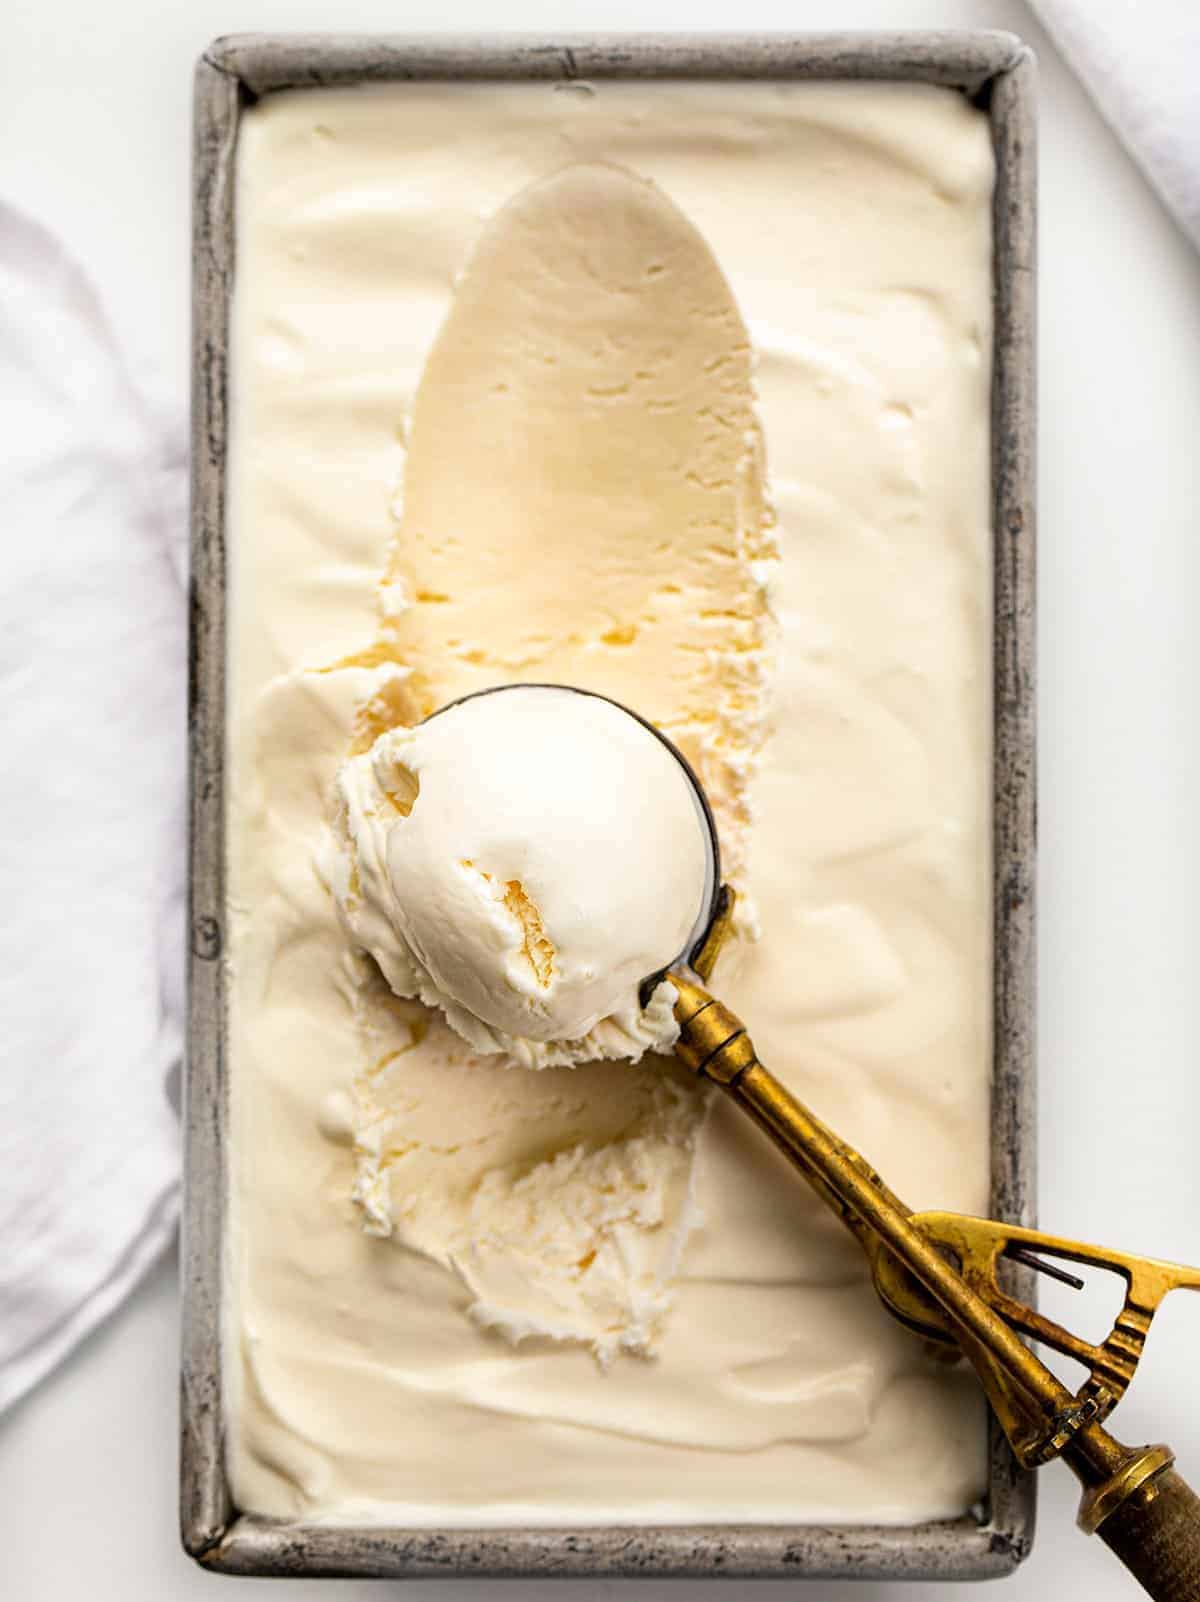
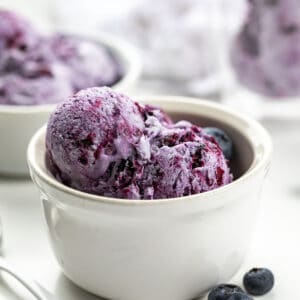
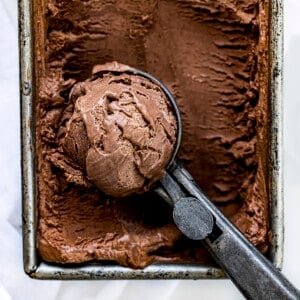
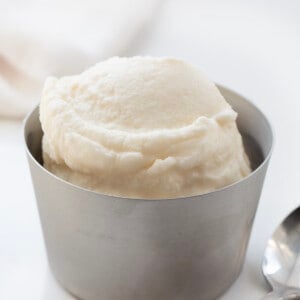
No-Churn Ice Cream is soft and creamy homemade vanilla ice cream made in just a few minutes with no ice cream maker required! This recipe is really, really good. Most taste-testers had no idea that it was not real-deal (ice cream machine) ice cream! If you love ice cream, I’ve got Chocolate Ice Cream, Blueberry Ice Cream and so many more!
No-Churn Ice Cream
There is no special equipment needed to make this batch of fantastic homemade vanilla ice cream. I used a stand mixer, but you could also get away with using a handheld mixer. It starts by making whipped cream. Then, it’s mixing the ingredients together and freezing the ice cream in a chilled loaf pan to let it set up. This recipe made 5 cups of ice cream.
Ice Cream Ingredients
Heavy Cream: Also known as heavy whipping cream, this is a liquid with 36-40% fat. This will be whipped up into a cream to use in the ice cream.
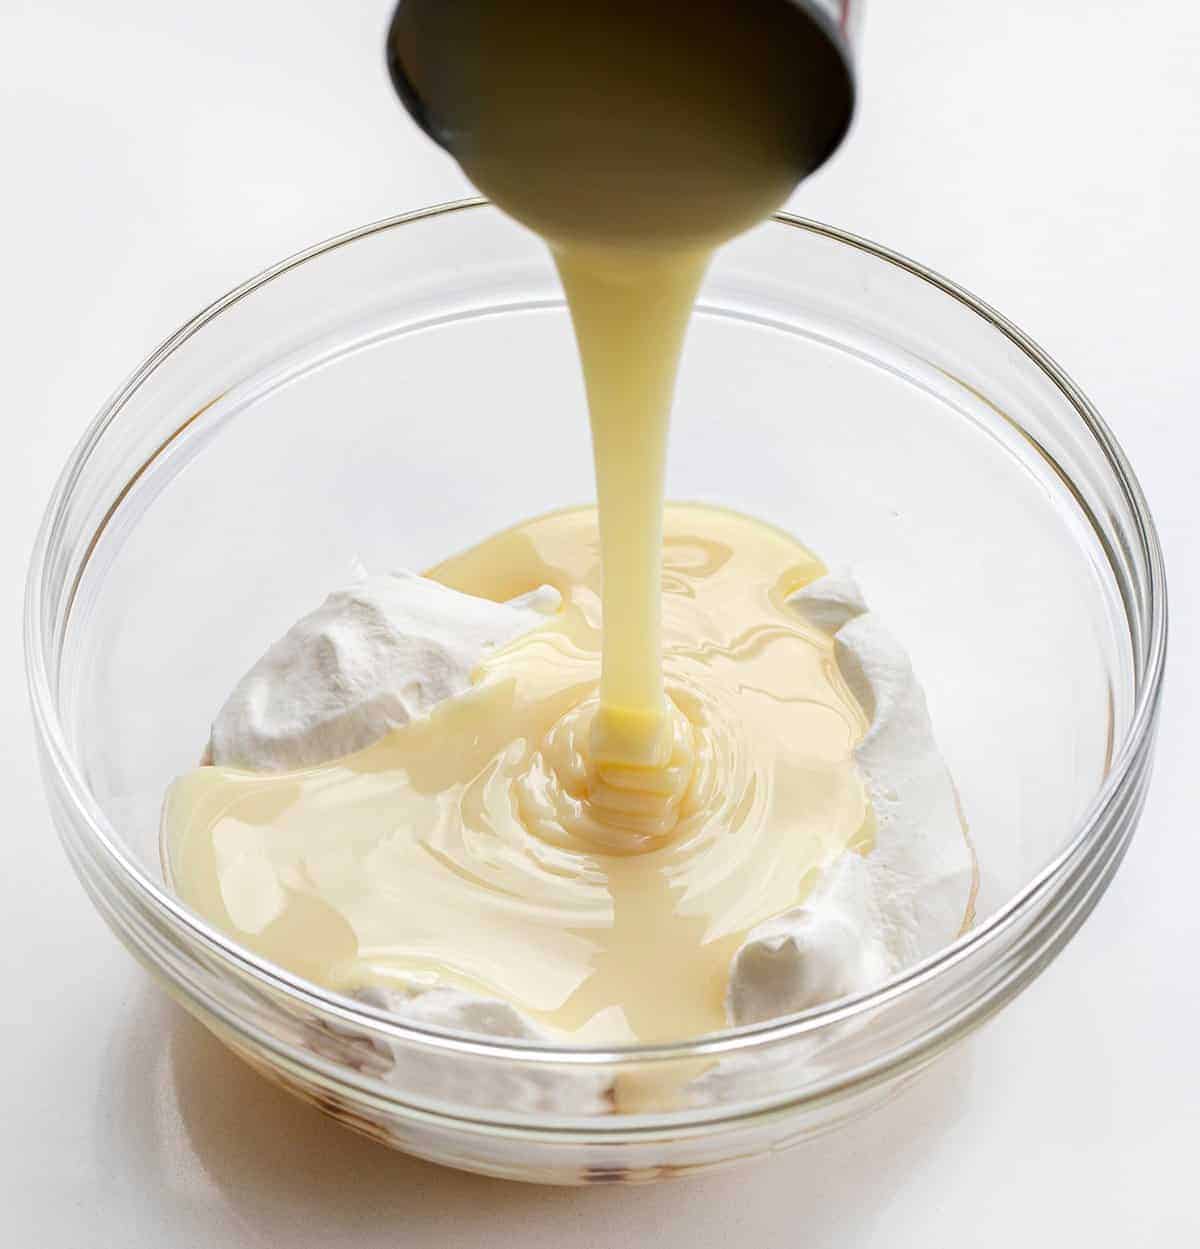
Sweetened Condensed Milk: Be sure to check the labels when buying sweetened condensed milk; do not use evaporated milk. As in many no-churn ice cream recipes, sweetened condensed milk is used in place of granulated sugar for some sweetness.
How is this Different from Making Ice Cream in a Machine?
Besides not needing an ice cream machine to make this, there are other differences between no-churn ice cream and ice cream made in a machine. One difference is that no-churn ice creams are made without eggs. Another difference is the use of sweetened condensed milk in place of granulated sugar.
What is the Difference Between Soft and Stiff Peaks in Whipped Cream?
When making the ice cream, the first step is to whip the heavy cream. You will end up with stiff peaks, but what does that mean? Stiff peaks are sharp peaks that can stand on their own even after the beater has been removed.
If a recipe ever asks for ‘medium peaks’, that means that the peaks will stand pretty much on their own, but with a slight curl at the top. When a recipe calls for the cream to form ‘soft peaks’, it just means that the peaks barely hold their shape.
Is No-Churn Ice Cream Creamy?
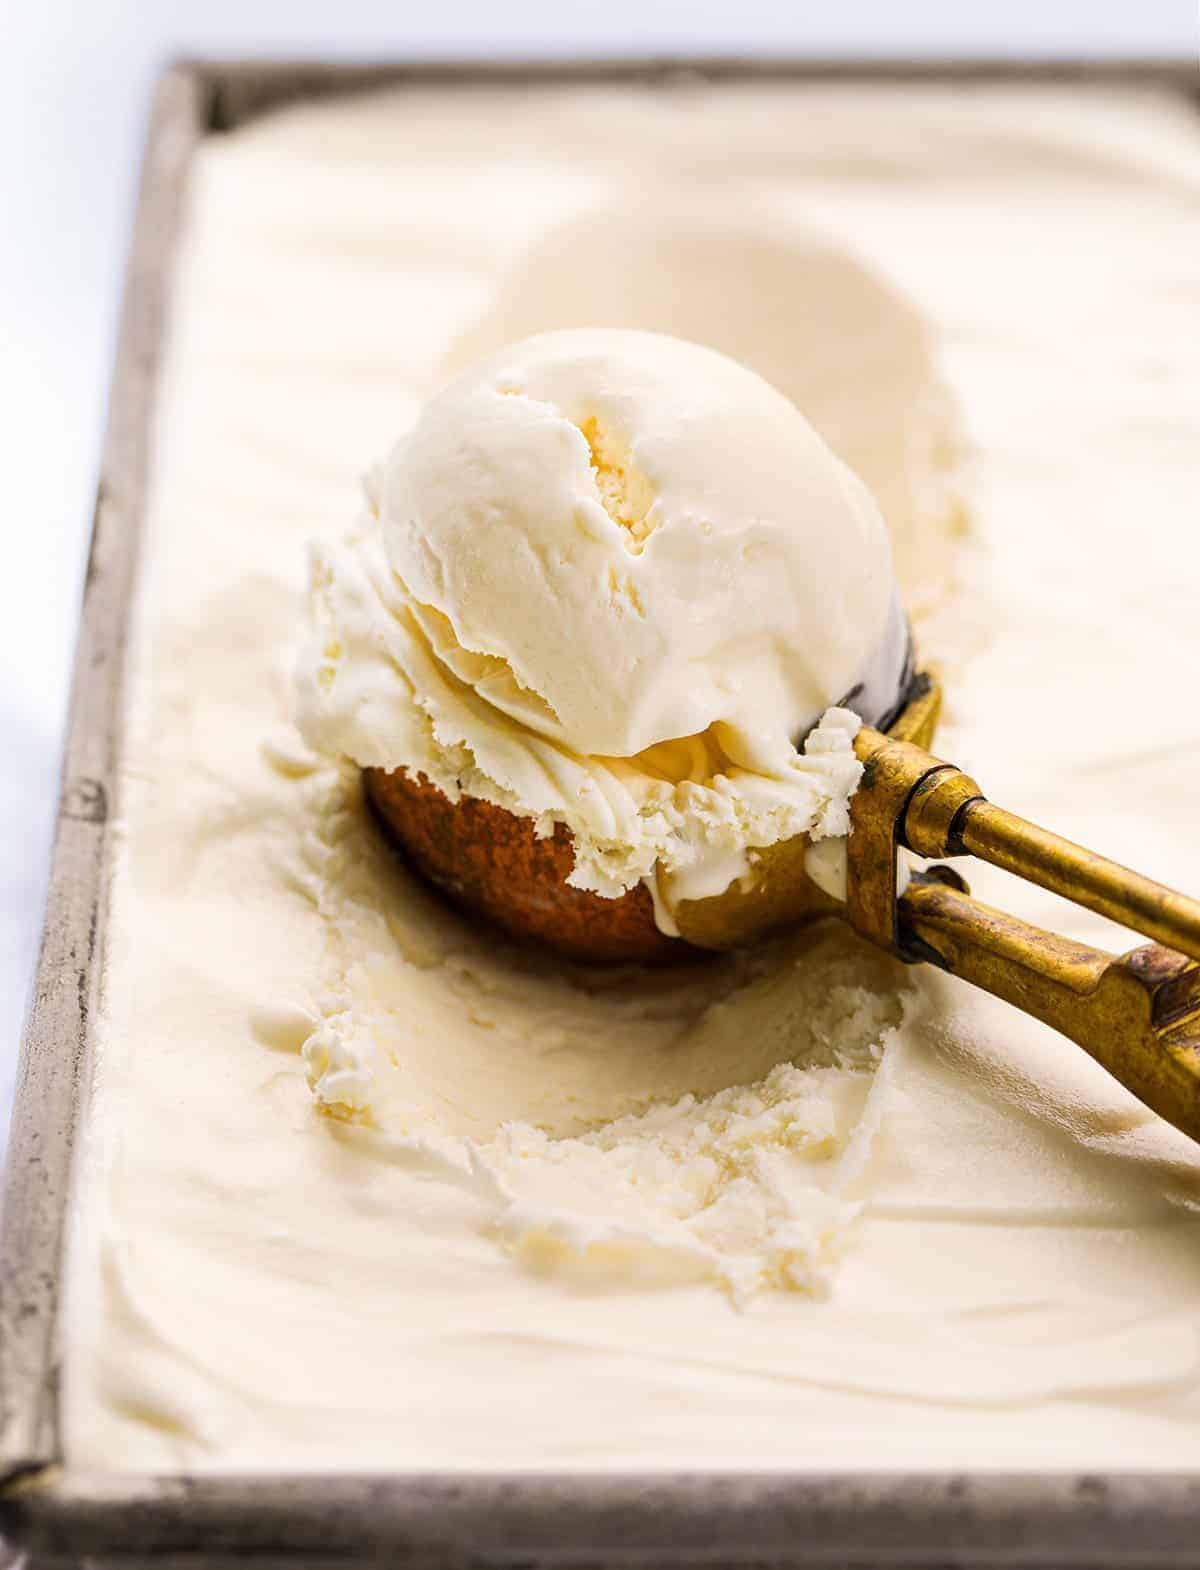
Yes! So creamy. I could not believe how creamy the texture of the ice cream was when I tasted it. If you prefer grainy ice cream, this recipe is not for you. Because of the smooth and silky whipped cream folded into the sweetened condensed milk mixture, you will enjoy velvety texture in every bite!
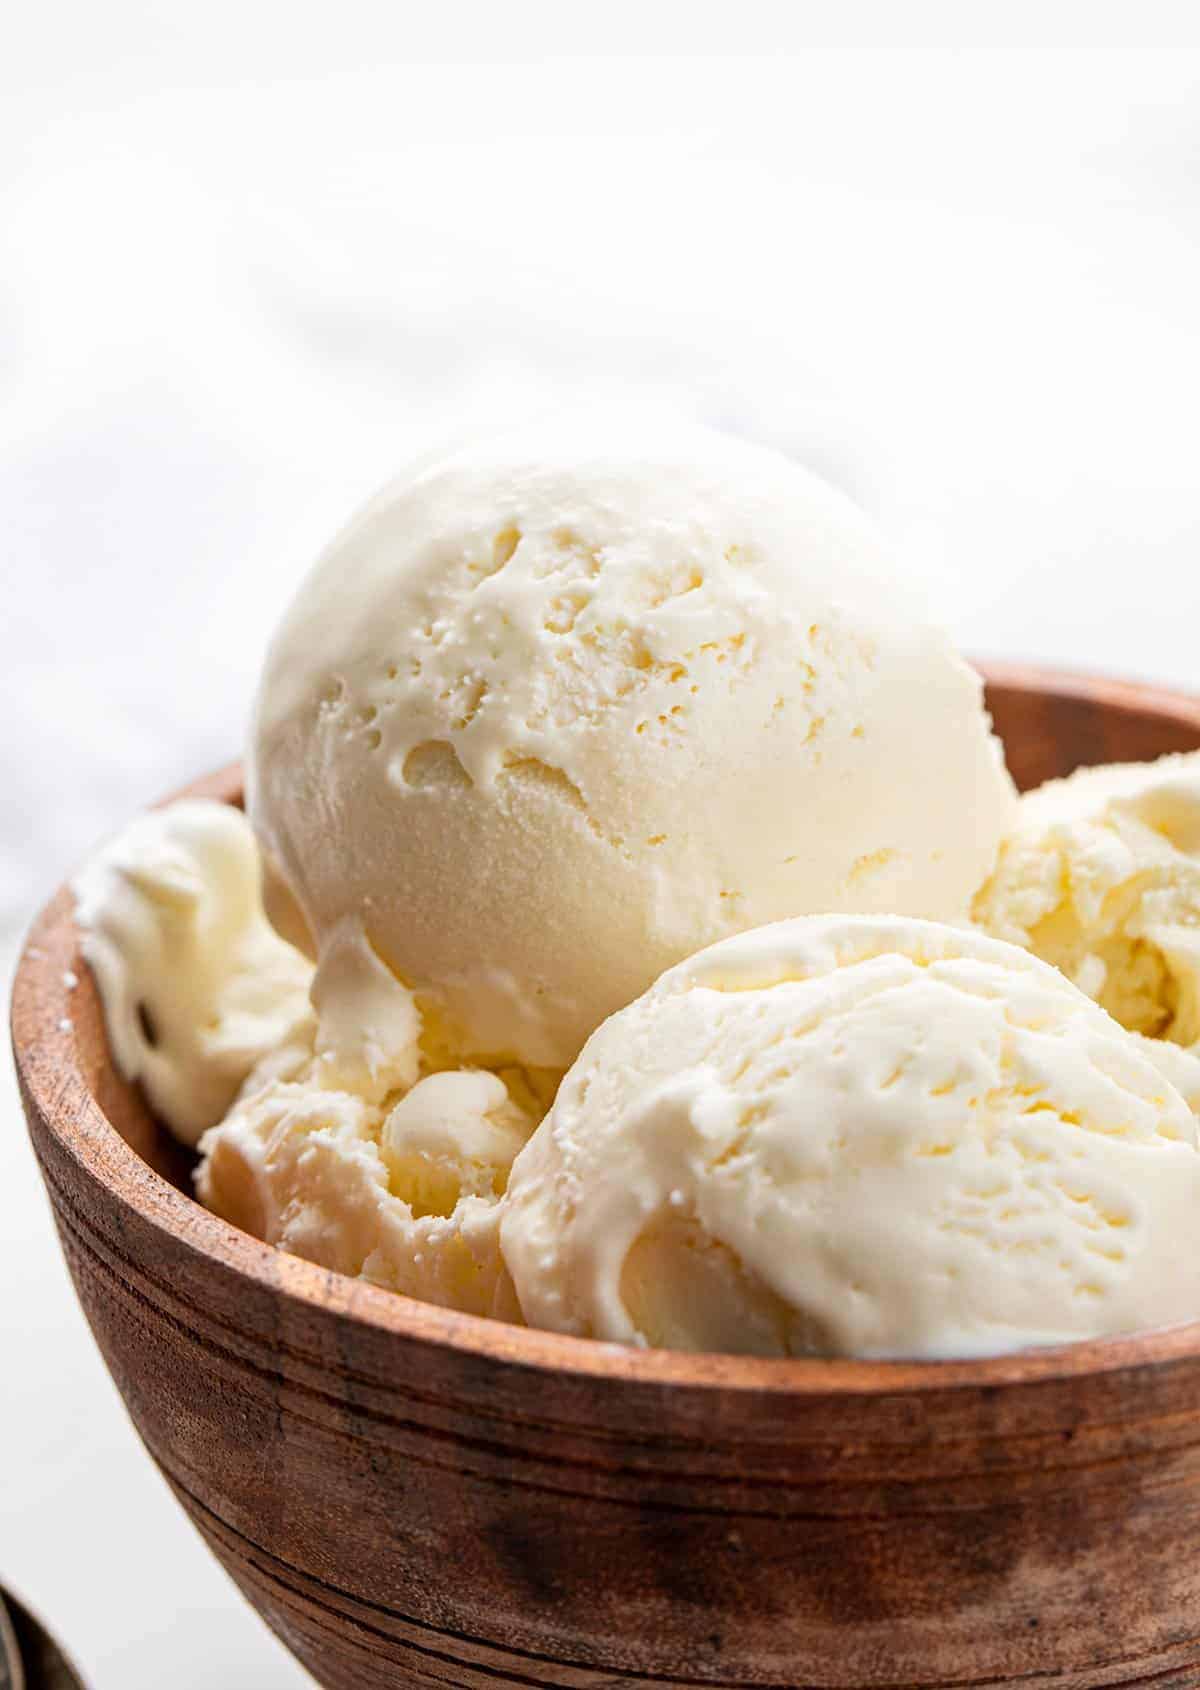
Can I Add Flavors to this Vanilla Ice Cream?
Of course! (However, please try a bite on its own first…yum!) Anyway, feel free to add your favorite candies, fruits, nuts (candied walnuts are my favorite), or even cookies to the ice cream. Or, top off a piece of apple pie or Banana Split Nachos with a scoop or two (or three, or four…).
More Ice Cream Recipes
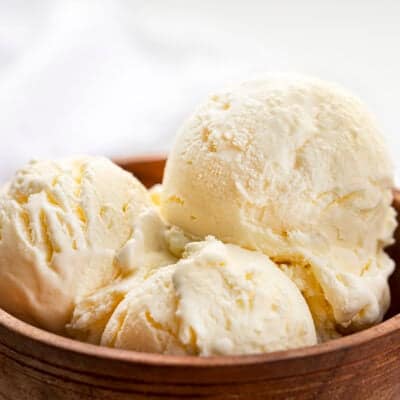
No-Churn Ice Cream
Ingredients
- 2 cups (476 g) heavy whipping cream, cold
- 1 can (14 ounces) sweetened condensed milk
- 1 teaspoon vanilla extract
- ⅛ teaspoon kosher salt
Instructions
- Place a 9×5-inch loaf pan in the freezer to chill.
- To the bowl of a stand mixer, add the heavy cream. Start mixing at the lowest speed, and then gradually increase speed to medium until the cream starts to get thicker. (The gradual progression prevents you from spraying yourself with cream.)
- The cream will thicken and start to peak. Mix on high speed until the cream is thick and stiff. This happens quickly, so watch it closely!
- In a separate medium bowl, combine sweetened condensed milk, vanilla, and salt, and 1 cup of whipped cream from the stand mixer. Stir to incorporate this sweetened condensed milk mixture.
- Gently fold the sweetened condensed milk mixture back into the mixing bowl with the rest of the whipped cream.
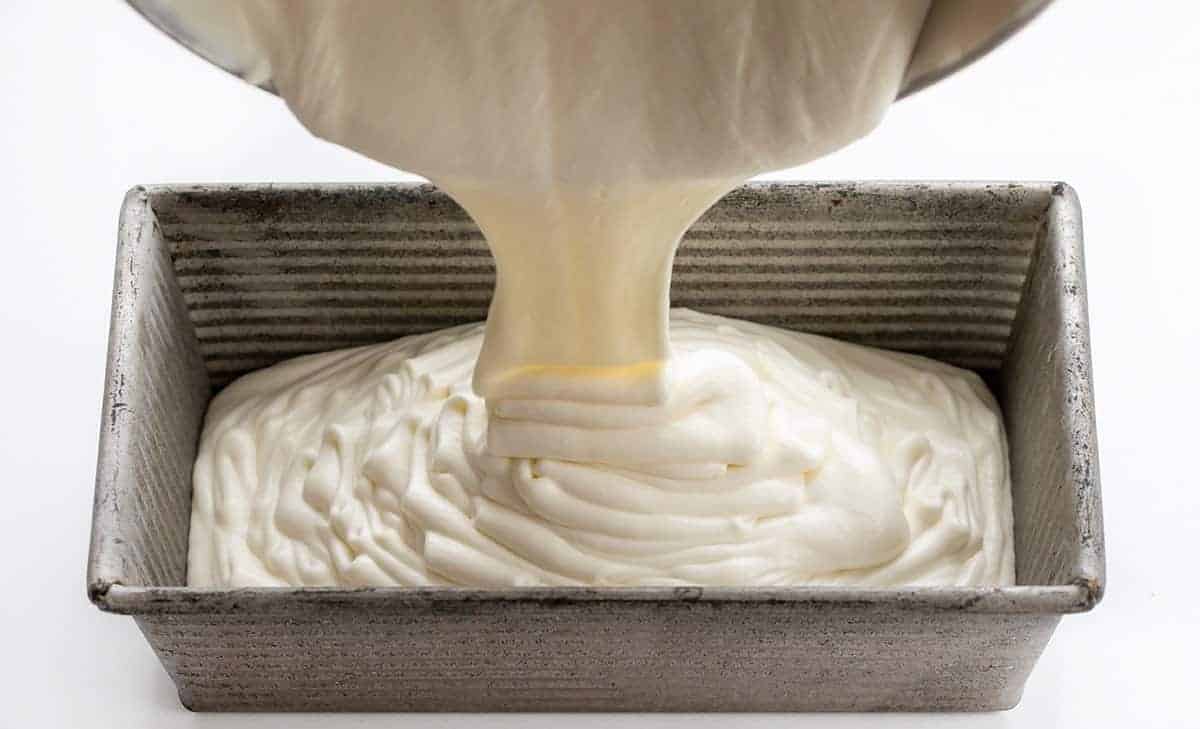
- Pour the mixture into the chilled pan and then cover with plastic wrap or parchment paper. Freeze for at least 5 hours, or until fully set up, before serving.
Did you make this recipe?
Thank you for making my recipe! You took pictures, right? Well go ahead and post them on Instagram! Be sure to mention me @iambaker and use the hashtag #YouAreBaker.



That was so great in looks and test. It just made me fan of yours.
We love coffee ice cream… the stronger the better. How can we make expresso ice cream????
Definitely!
I have been making this for years. It’s the best icecream. I even tint it light green and add pistachios and people go nuts over it. I add fresh raspberries and strawberries when in season. I find adding the berries it’s best to put half of the cream down then the berry layer and then the rest of the icecream. I have a special container I got from KA and it keeps it fresh and air tight. It’s a must try!
I would like to add the scrapings from a vanilla bean. How much should I add?