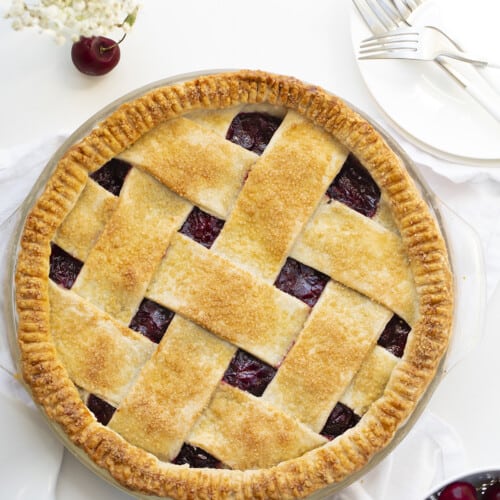
Cherry Pie is a fruit pie with a homemade pie crust, a lattice top, and filled with a sweet homemade pie filling for an irresistible dessert. It’s a simple, but classic, pie. Be sure to try my Cherry Bars, too!
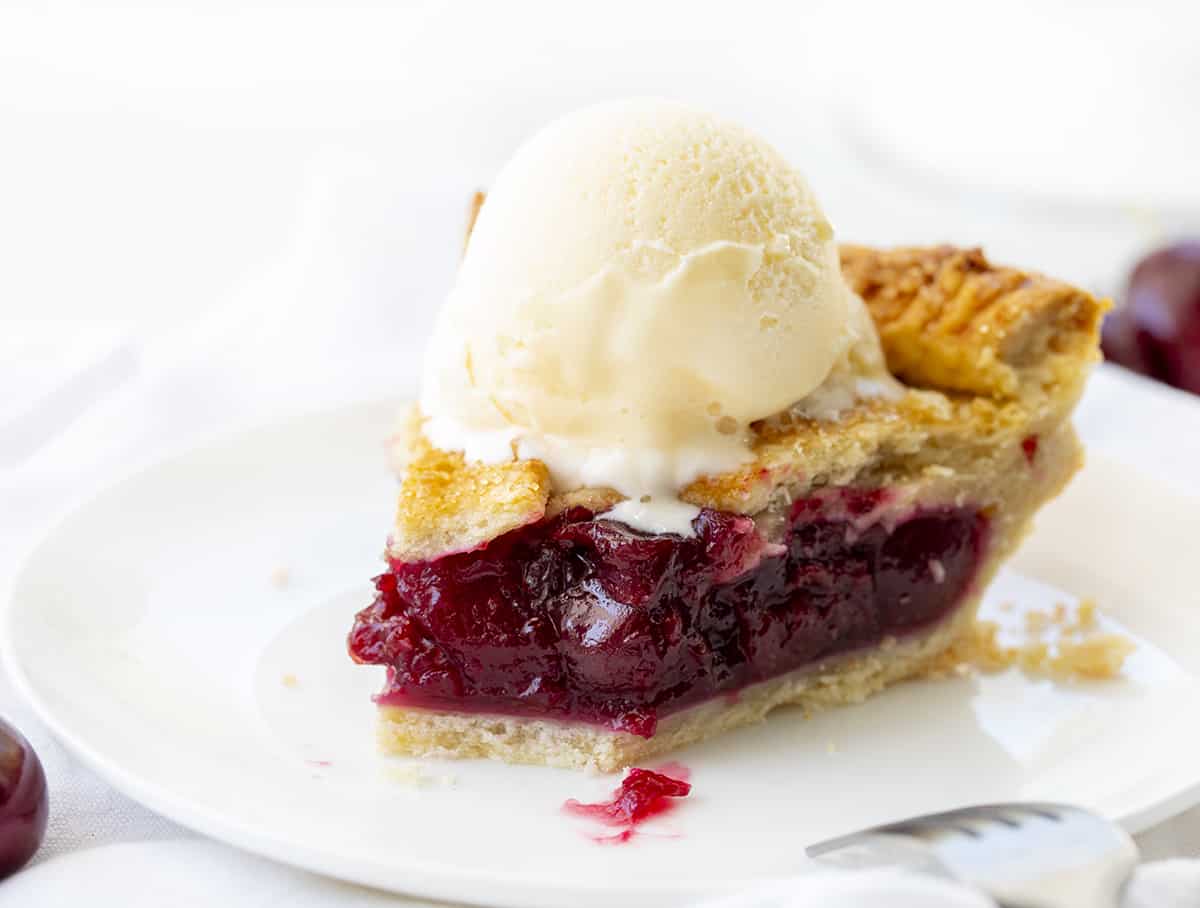
Cherry Pie
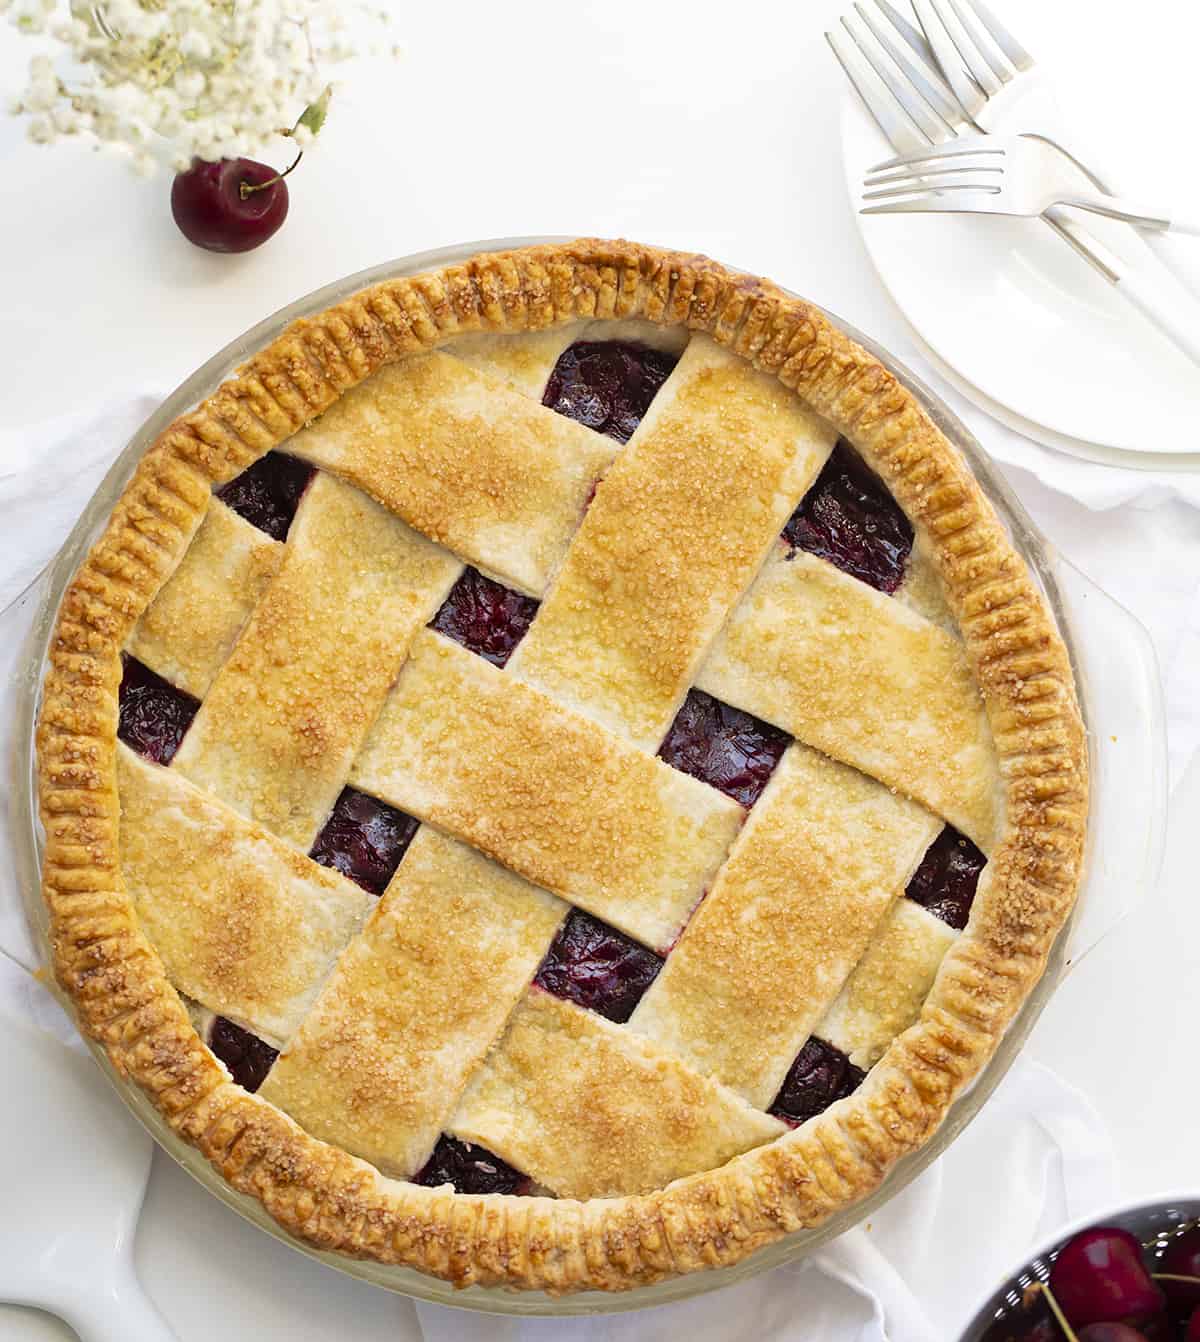
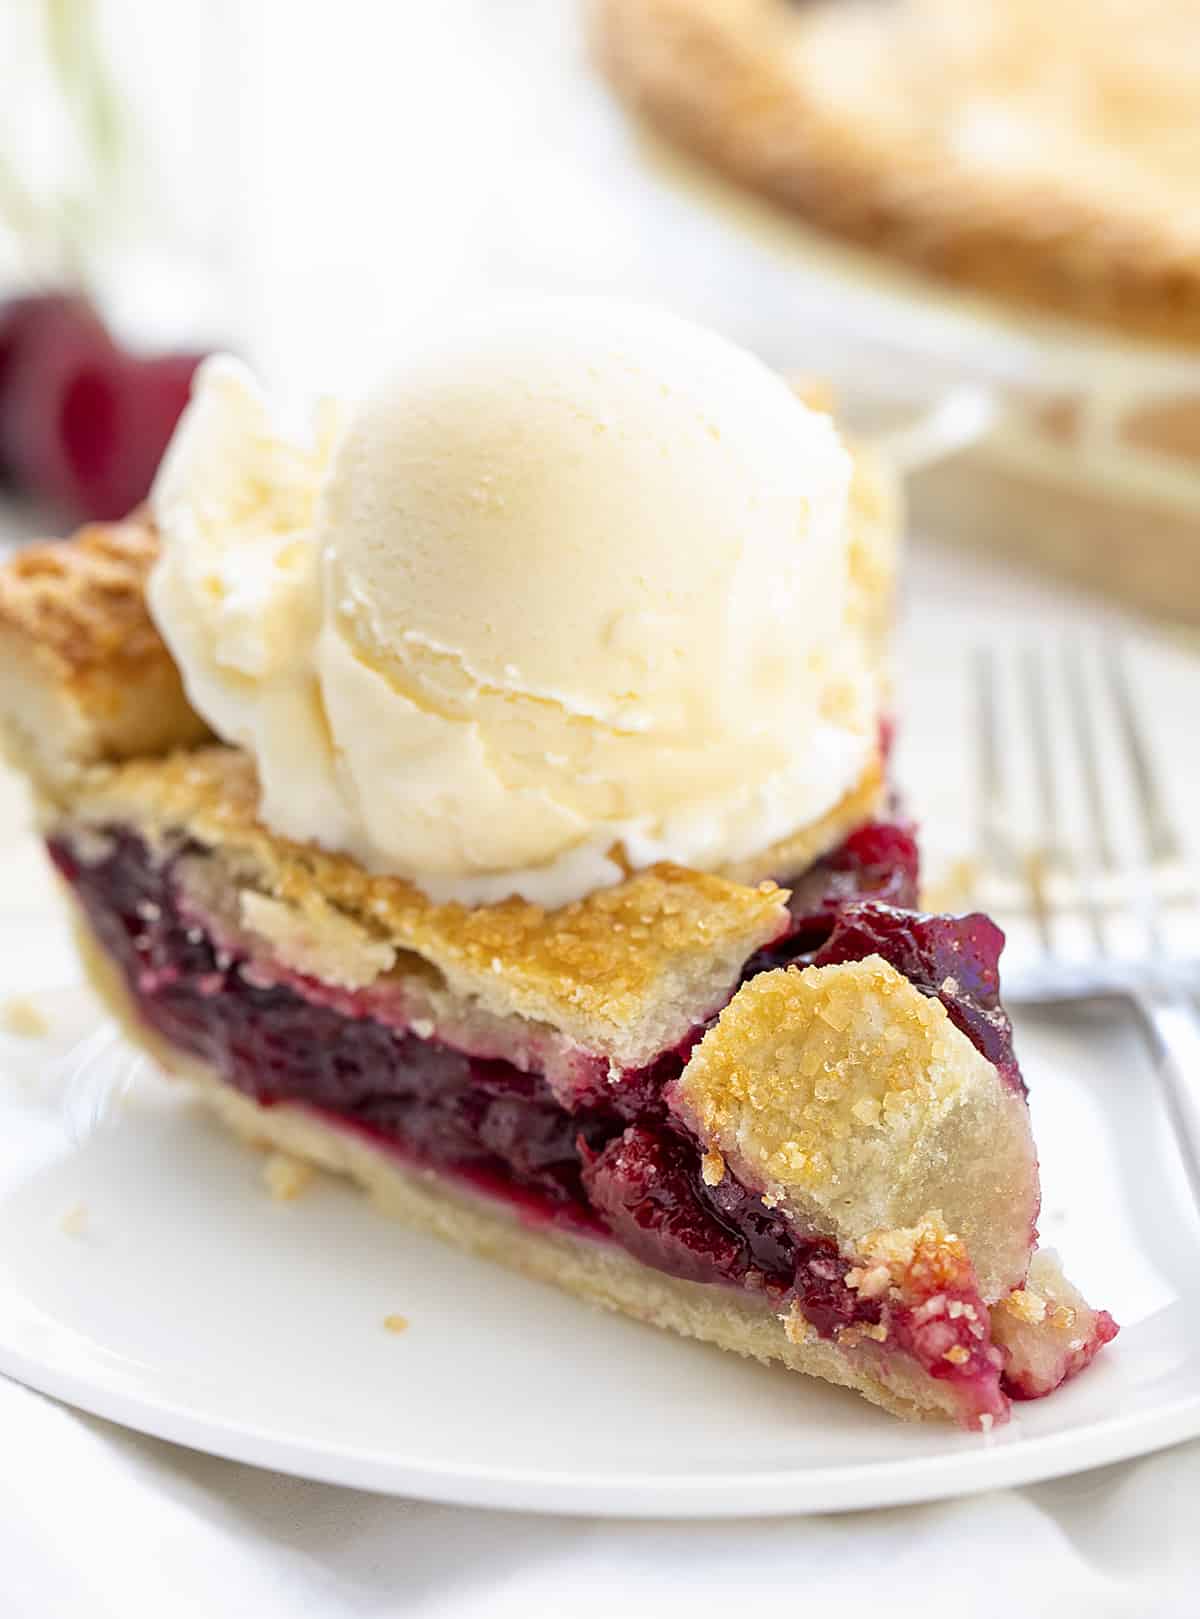
This recipe is simple, but the flavor is far from that. And, the lattice detail in the crust is not only lovely in appearance but also functional. It starts with my no-fail pie crust. Then, homemade cherry pie filling is added to the pie. The cherry pie is baked to a golden brown with the vibrant red cherries peeking through. Don’t forget to top it with some whipped cream or a scoop of ice cream!
Pie Ingredients & Substitutions
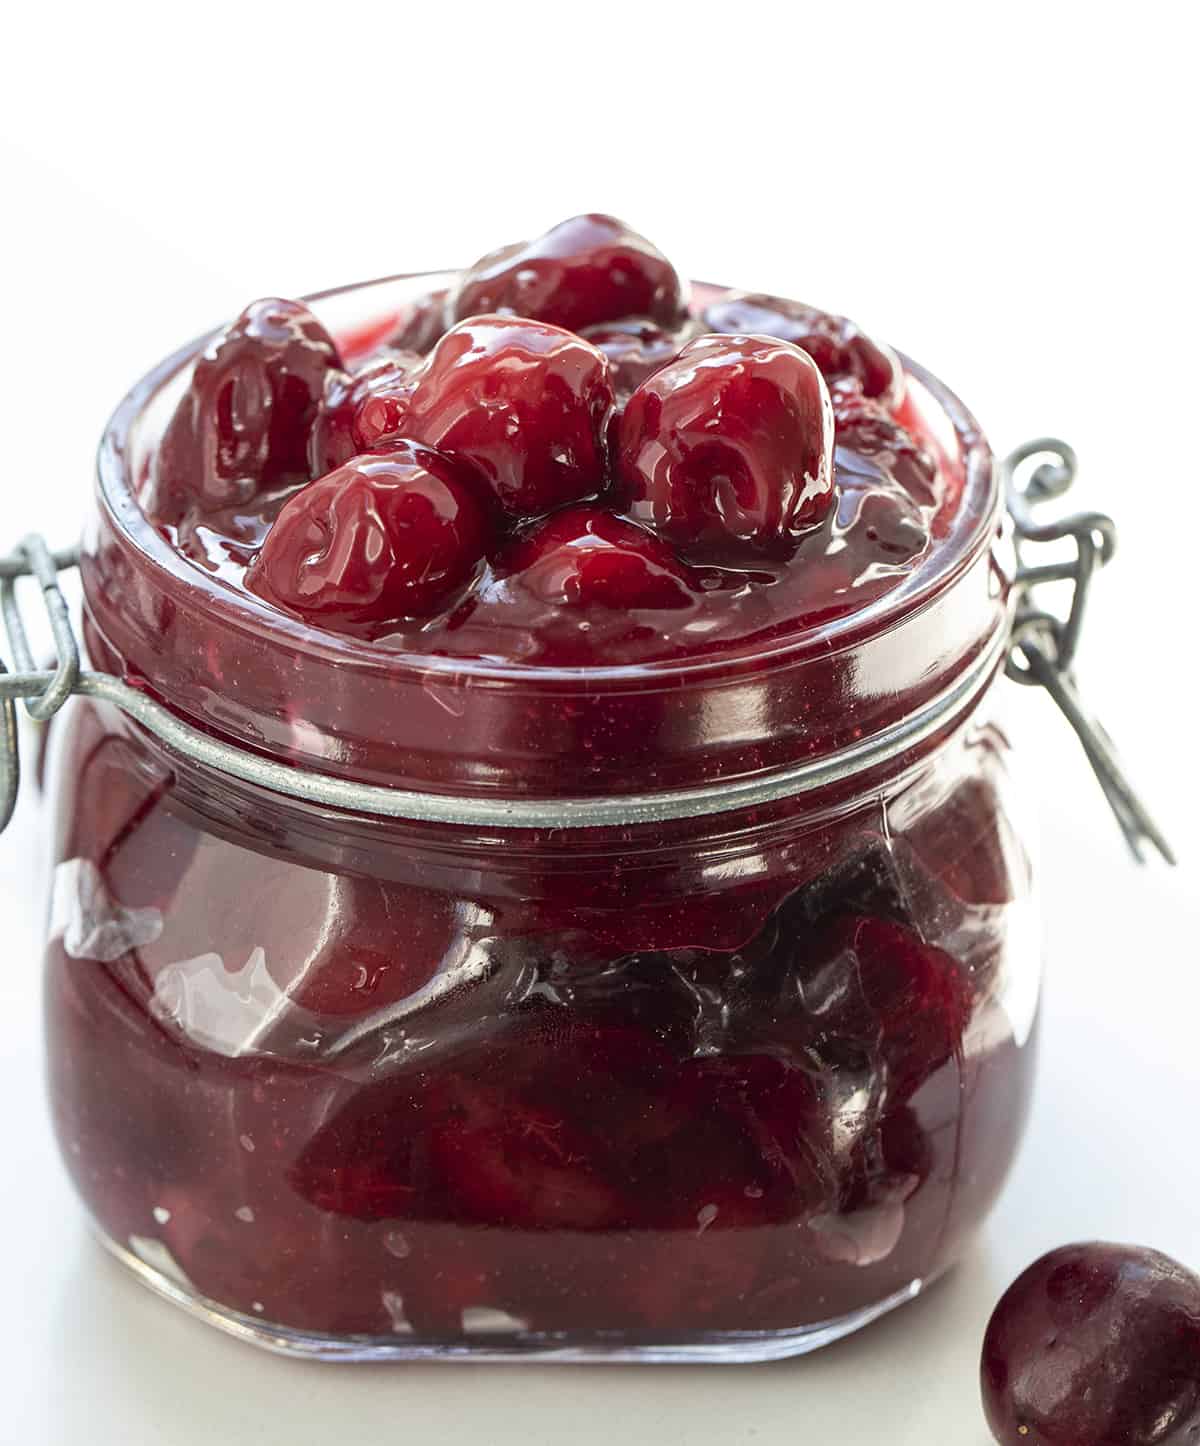
Pie Filling: I encourage you to make your own cherry pie filling. (That is how this recipe is written.) It makes a big difference in a delicious way! However, you can use store-bought cherry pie filling as well. You will need about 3 cups of filling for the pie.
Crust: Yes, you can go out and buy a couple of pie crusts to use in this recipe. But, a better idea would be to make my homemade pie crust. The recipe is enough for two crusts, which is what you need for this pie. In addition, you will realize you want to make the crust for all of your future pies, both hot and cold!
Turbinado Sugar: I sprinkled some turbinado sugar on top of the pie for some added sweetness. Turbinado Sugar is a sugar that would fall between granulated sugar and light brown sugar in both color and flavor. It has a yellowish-brown color and with some molasses content left in the turbinado sugar (which gives it the color), it will provide a slight butterscotch flavor and has larger and coarser grains. If you can’t find turbinado sugar, you can use granulated sugar for the topping.
What Kind of Cherries are Best?
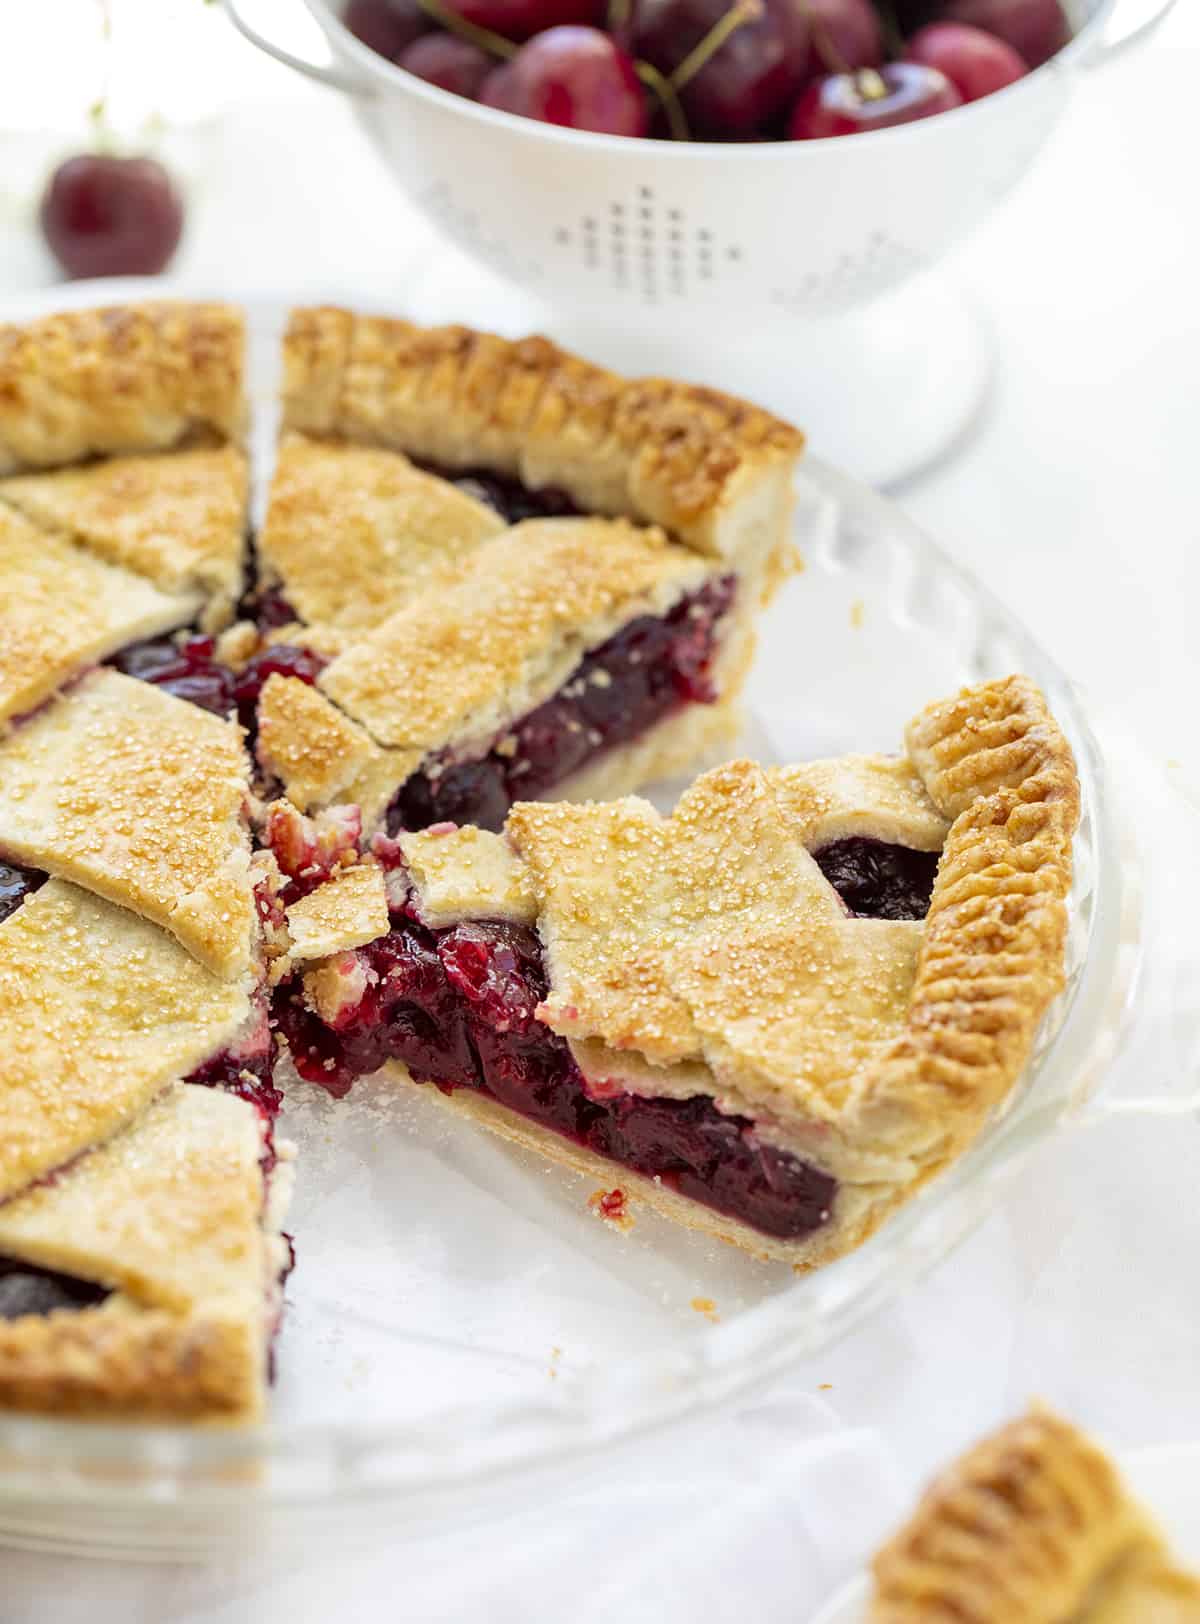
For the cherry pie filling, I used sweet cherries. Look for fresh cherries like Rainier cherries, Bing cherries, or Chelan cherries, just to name a few. And yes, you could get away with using frozen cherries as well. Just make sure they are pitted.
Can I Make Cherry Pie Ahead of Time?
Yes! This pie is perfect to get a head start on so it’s ready to be assembled and baked when you need it. The crust can be made in advance; just store it in the refrigerator for up to three days. Or, freeze it for up to three months! And, the homemade cherry pie filling can be stored in the refrigerator for up to four days or frozen for up to three months.
Can I Make the Pie Without a Lattice Top?
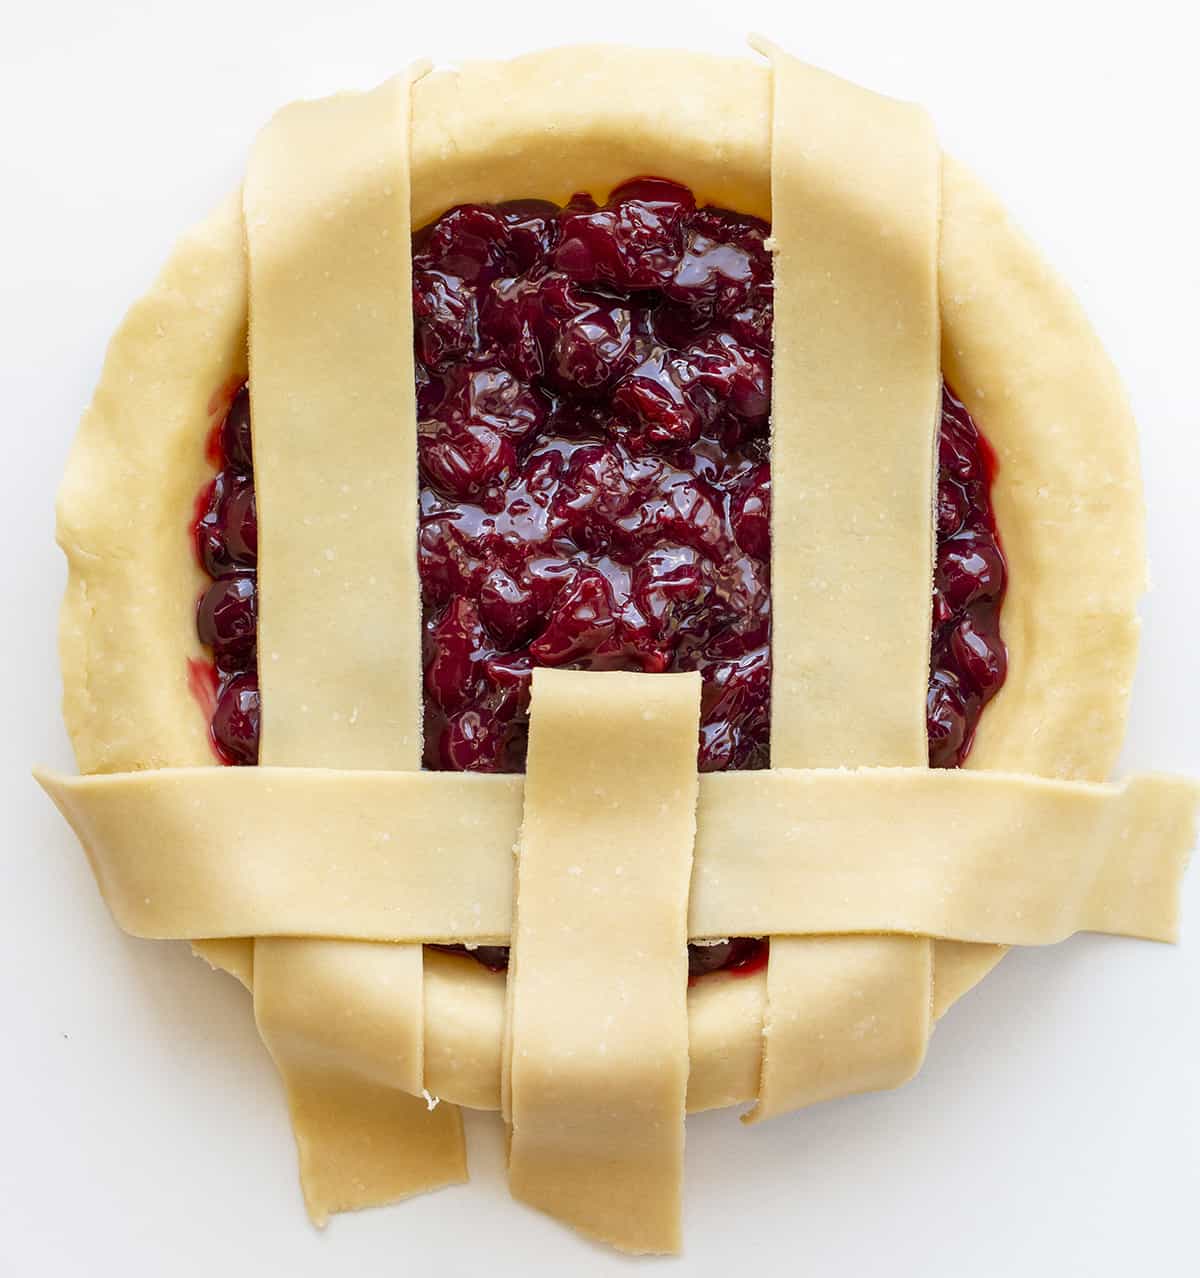
Yes, you could. But, as I stated above, the lattice design on the top crust is more than just for appearances. The open areas from the latticework allow any excess moisture to evaporate, which keeps the cherry pie filling from becoming soupy. If you do use the traditional top, be sure to cut a few slits in the top crust to vent steam.
How to Store a Cherry Pie
Cherry pie can be stored at room temperature for a couple of days. You could also store it, loosely covered, in the refrigerator for the same amount of time. If freezing the pie, first, let it cool completely. Then, wrap the pie in plastic wrap and store it in a freezer-safe container for up to four months.
Cherry Pie
Ingredients
Cherry Pie Filling (See Notes)
- 4 cups sweet red cherries, pitted (about 1½ pounds)
- ¼ cup (32 g) corn starch
- ¼ cup (62.5 g) water
- ⅔ cup (133 g) granulated sugar
- 1 tablespoon lemon juice
Cherry Pie
- 2 unbaked pie crusts, homemade or store-bought
- 1 large egg, room temperature
- 1 tablespoon water
- 1 tablespoon turbinado sugar
Instructions
Cherry Pie Filling
- In a medium saucepan over medium heat, add cherries. Cover and cook, stirring frequently, until the natural juices of the cherries are released and the contents are beginning to simmer (about 10-15 minutes).
- In a small mixing bowl, whisk together cornstarch and water.
- Reduce heat to low and pour the cornstarch slurry, sugar, and lemon juice into the cherries. Stir to combine.
- Bring the mixture back to simmer and continue cooking until the mixture has thickened. (This happens fast, 1-2 minutes.)
- Remove from heat and allow to come to room temperature before using. You will use the entire amount (about 3 cups) in the pie.
Pie Assembly
- Preheat the oven to 400°F.
- When ready, roll out one of the pie crusts into a 12-inch circle. Place into a 9-inch pie pan.
- Top the pie crust in the pan with the cooled cherry pie filling.
- Set out an 18-inch piece of parchment paper and roll out the second pie crust to a 14-inch circle, about ⅛-inch thick. Using a pizza cutter, slice into 2 to 2½-inch strips.
- Cover with a latticework crust by arranging half the strips over the pie, in parallel lines, leaving space in between.
- Fold every other strip up to about the mid-line of the pie. Lay another strip over the middle of the pie, perpendicular to the others. Fold the parallel strips back down, then fold up all the other strips. Lay another perpendicular strip down, and repeat until all the strips have been used.
- Trim any excess dough and press to adhere to the bottom crust. Using a fork, crimp the edge of the pie to seal.
- In a small bowl, mix together egg and water. Brush the latticework crust with the egg wash mixture and then sprinkle with turbinado sugar.
- Bake 40-45 minutes or until cherry filling is starting to bubble.
- Cool completely before serving.
Notes
Did you make this recipe?
Thank you for making my recipe! You took pictures, right? Well go ahead and post them on Instagram! Be sure to mention me @iambaker and use the hashtag #YouAreBaker.
