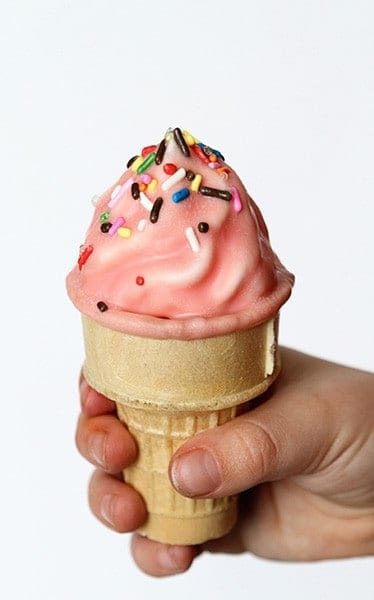
These Chocolate Dipped Cake Cones are simply delightful! Top with sprinkles for an extra special effect!

I try my very hardest to make sure my little girl Audrey’s birthday has nothing to do with Christmas and that she feels extra special. Having a December birthday is hard!
One way that I do that is by making a cake or cupcakes that are completely opposite of any red and green theme.

Audrey loves rainbows. And chocolate. And cupcakes. And ice cream.
So I figured why not add them all together?
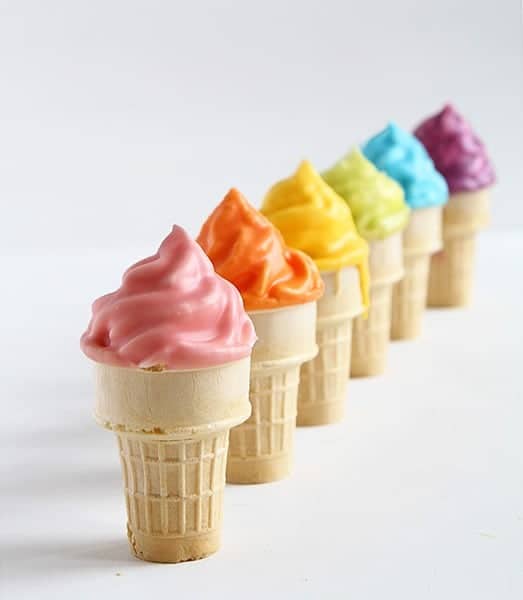
Using some chocolate candy melts I was able to create a pretty colorful array of cupcake cones. But they aren’t done unless there are sprinkles, right?

I have to be honest though… the first time I made these I made a HUGE mess. There was tipped over cones everywhere and I kept trying new ways to make the process easy and efficient. I think I finally came up with a method that works!
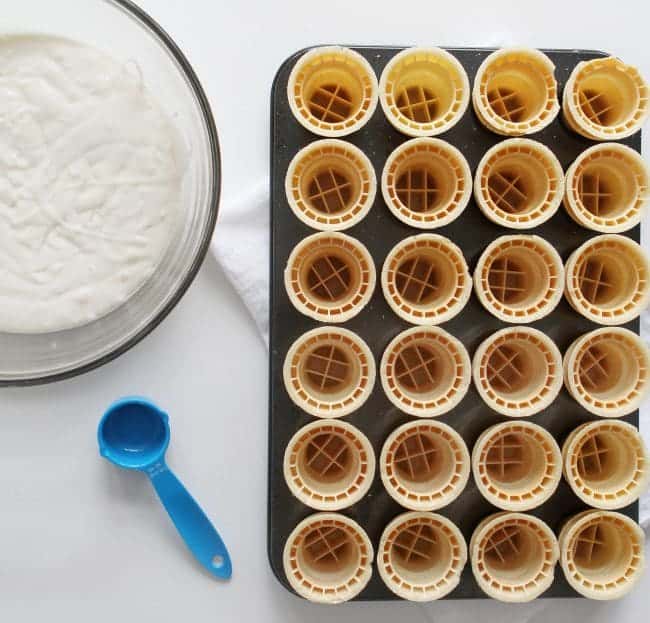
I used a mini-cupcake pan for my cones.
One quick tip for this method: Make sure you are SLOW and STEADY when moving it. The cake batter helps to keep them standing tall and straight, but they can fall if bumped.
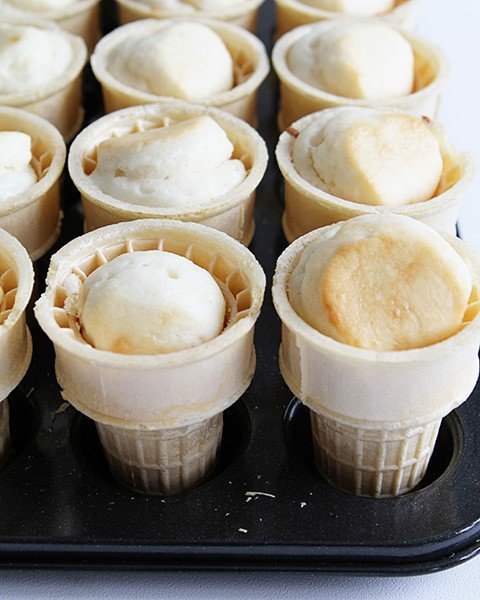
It’s a fantastic way to bake up the perfect Cake Ice Cream Cone!!!
Full Instructions for Baked Ice Cream Cones:
Prepare the cupcake batter according to the recipe directions. Place all of ice cream cones in a mini muffin pan. Using an 1/8 cup (or two tablespoons), pour cake batter into the ice cream cones (they should be just over halfway full). Bake the cake inside the cones at 350 degrees for 20 to 25 minutes.
Remove the cupcake cones from the oven and allow to cool. Slow and Steady! You don’t want them to tip over.
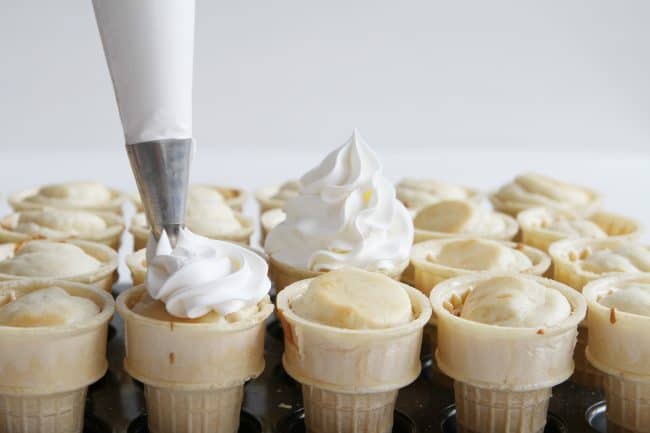
When the cupcakes are cool, pipe the whipped cream on top of each cone using a 1M tip. (You are welcome to skip the 1M tip, since the shape of the whipped cream doesn’t perfectly hold when dipped into the candy melts. If you choose to skip using the tip, just cut off the corner of a plastic disposable pastry bag filled with whipped cream and pipe out two round dollops.)
Place the whipped cream-covered cones in the freezer for at least 1 hour.
Prepare the candy melts. Using tall, wide-mouth kitchen glasses, place about 2 cups of candy melts and 1 tablespoon of shortening into each glass. Melt the candy melts for 1 minute in the microwave and then stir. If there are still large clumps, return to the microwave for 15-second increments.
Boil 5 cups of water and pour the boiling water into a 9×13-inch pan. After you have melted each glass of candy melts, place into the pan with hot water so that the chocolate will remain a warm liquid.
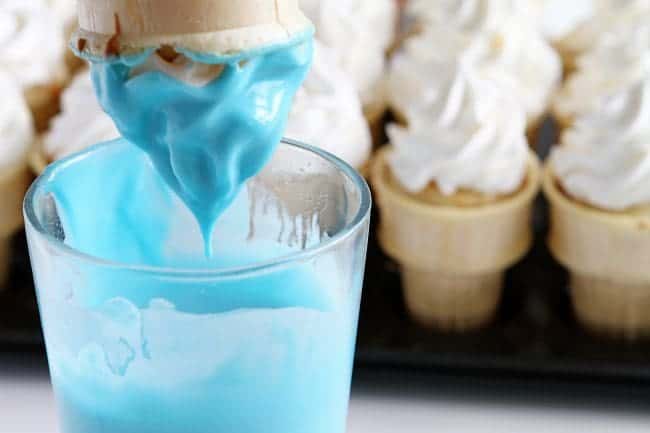
Carefully remove the cupcake cones from the freezer. Pick up each cone and dip down into the glass of candy melts. Lift up the cone and allow excess chocolate to drip off. Turn the cone right-side up and set aside, allowing to harden.
Tip: Set the drying cones on a large piece of parchment paper for easy cleanup.

If you are using sprinkles, be sure to cover the dipped cones in sprinkles right after dipping. The sprinkles will not stick once the candy coating has hardened.These fun treats can be served right away, but will stay fresh for up to 3 days.
I think Audrey is really going to enjoy her birthday this year. And especially the treats!
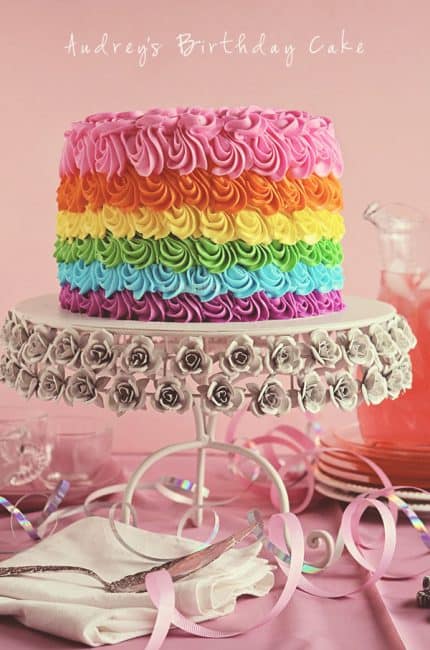
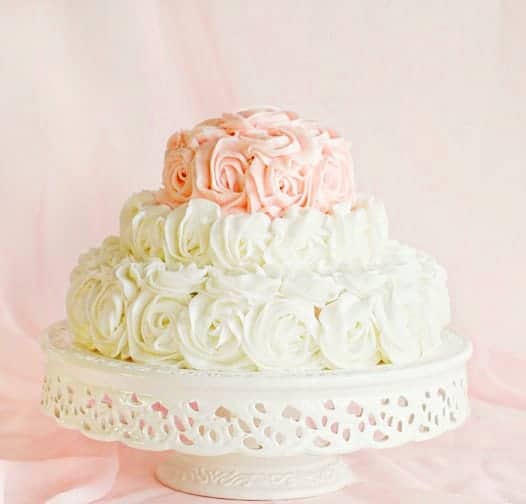
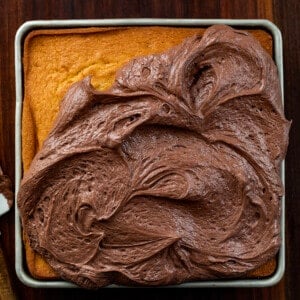
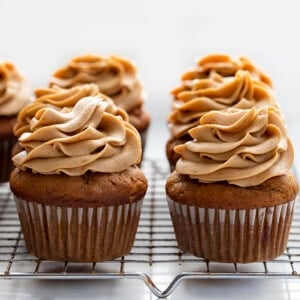
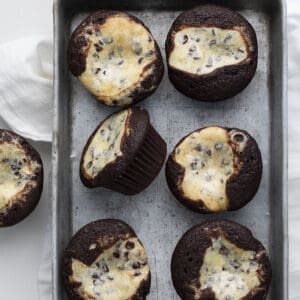
Check out Audrey’s cakes from the last few years:





These look amazing! Superb photos!
Love this idea!!! Could the whipped cream be substituted for buttercream?
awesome recipes
Thanks for sharing your yummy recipes 🙂