Design the perfect Sixlet Cupcake is easy with my tried and true formula!
I noticed that I have been using a lot, a lot of Sixlets in my cupcake designs lately. So I figured why not put them all together and show YOU how to do it too!
I happen to have a lot of Sixlet’s candies on hand and store them in my Sprinkles Cabinet. I like to buy them from Amazon in larger quantities as it is MUCH cheaper.
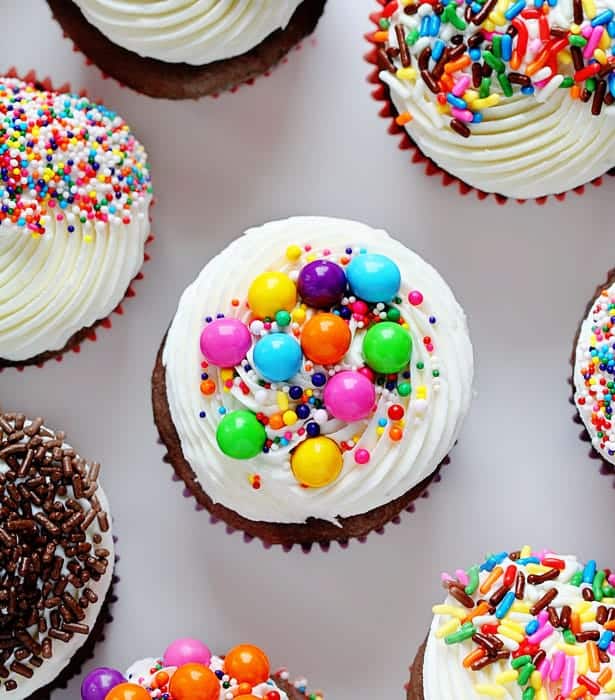
How to Decorate Cupcakes
Whether you’re a seasoned cupcake-decorating pro or a complete rookie when it comes to frosting cupcakes, I’ve got a decorating tip that will help you make one heckuva beautiful cupcake! Follow my simple steps for how to decorate cupcakes, how to frost cupcakes, and even how to use what you have in your cupboard to create beautiful designs.
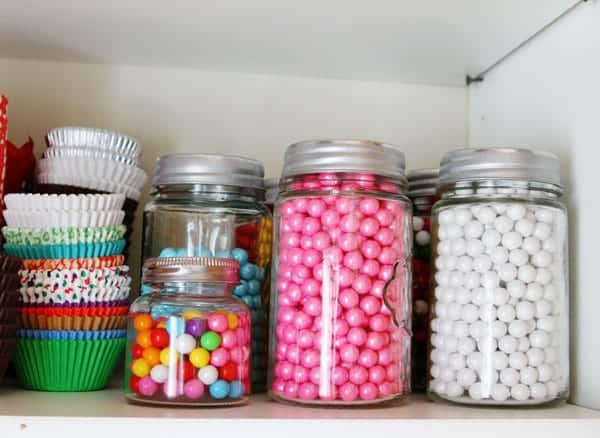
With a big variety of colors available it is to create a customized design for every holiday and occasion.
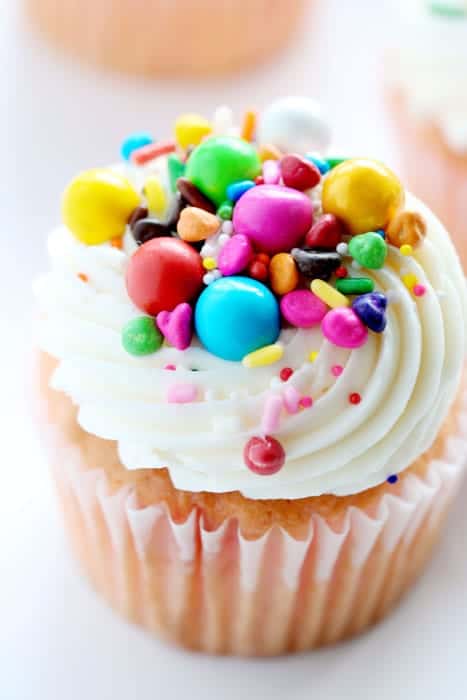
Like birthdays…
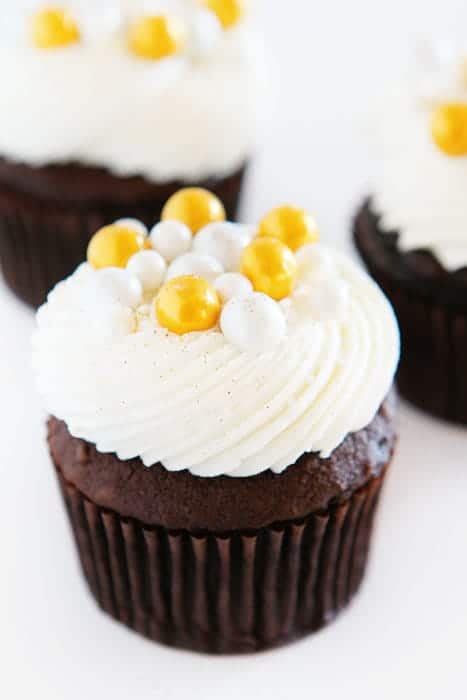
or New Year’s Eve…
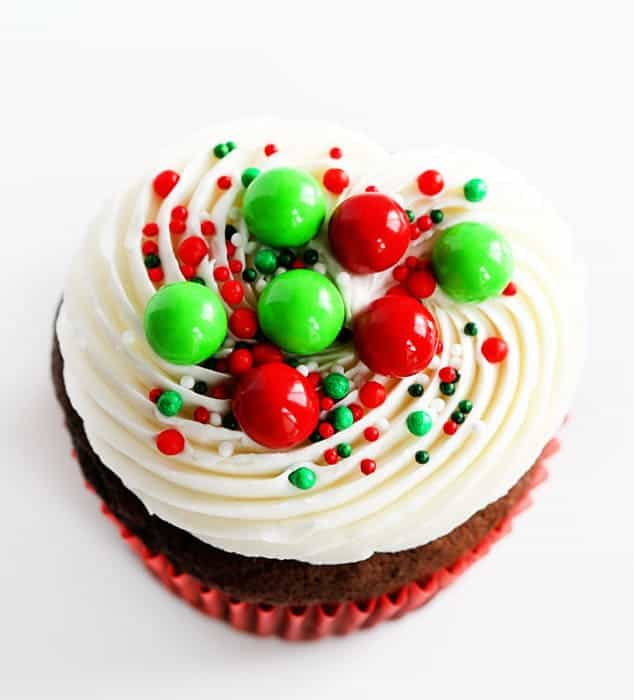
Or Christmas…
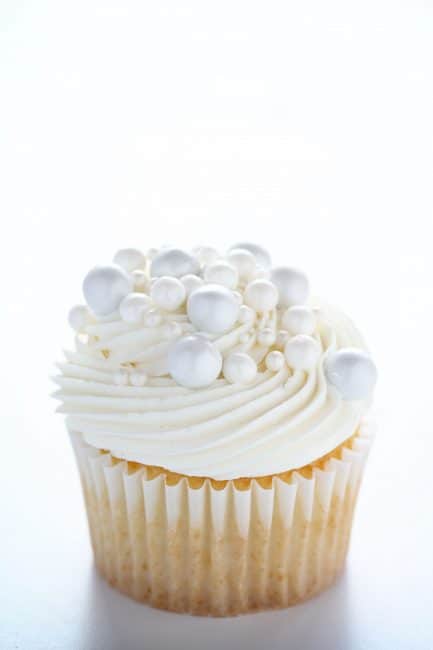
or even Wedding Cupcakes!!
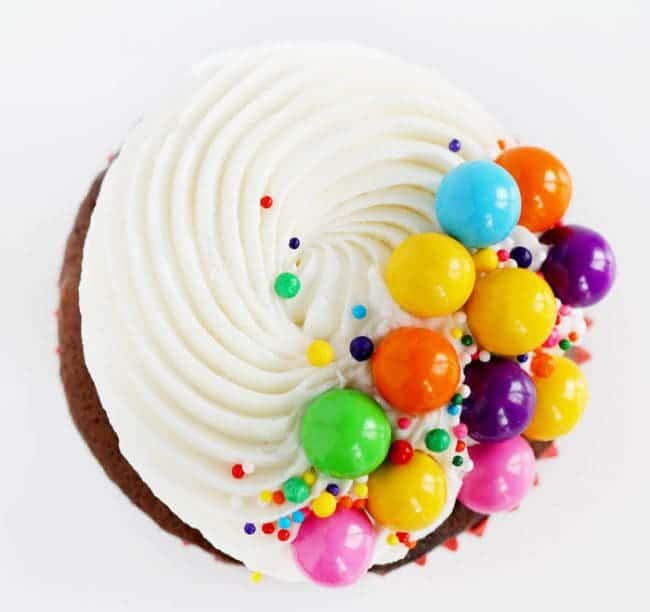
I LOVE how easy they are. This was decorated with an 8B tip and then the Sixlets were added to one side.
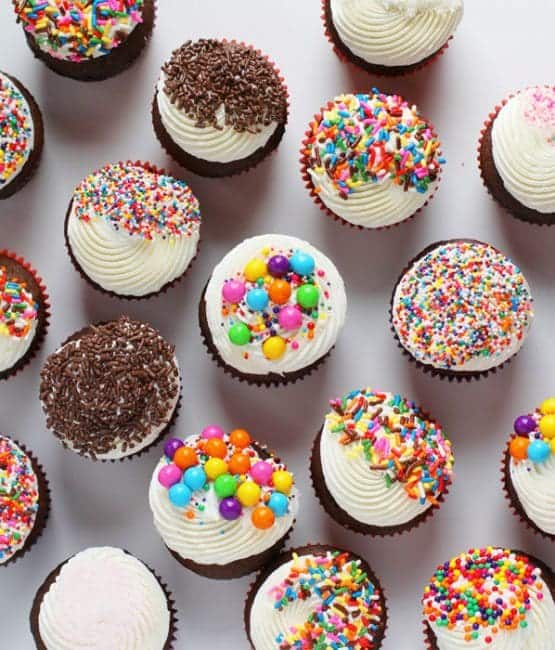
One thing you may have noticed in all of these designs is that it is a variation of sizes of sprinkles.
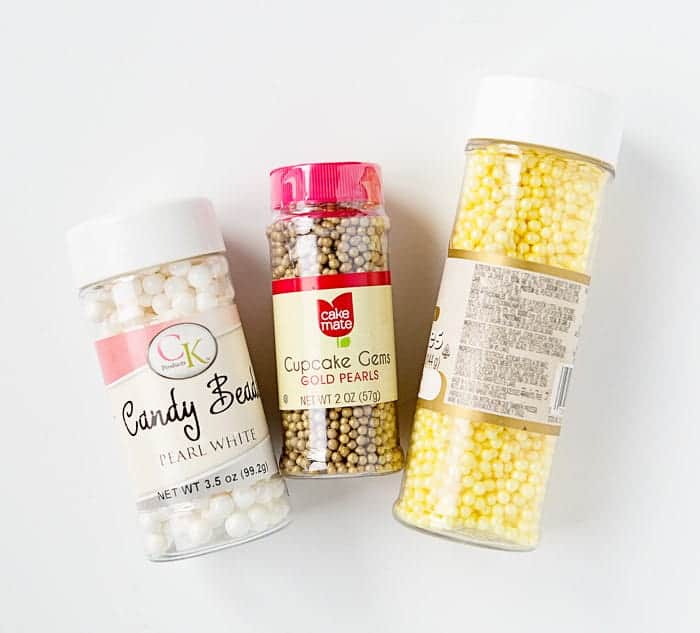
pearl gems
How to Decorate Cupcakes with Sprinkles
You will need:
Sixlets
medium round (these are called pearlized sprinkles, pearl sprinkles, candy beads, or pearl gems)
round sprinkles often called nonpareils
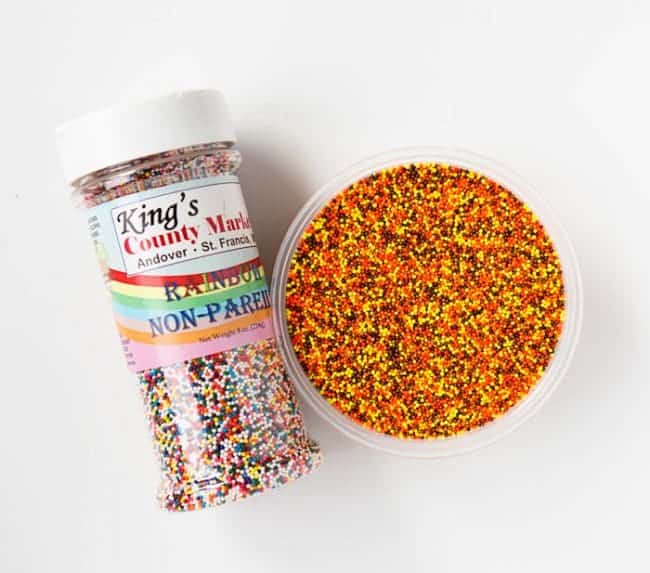
nonpareils
The combination of these three sizes really makes for a beautiful juxtaposition. You can also add in some disco dust or edible glitter for a fun effect!
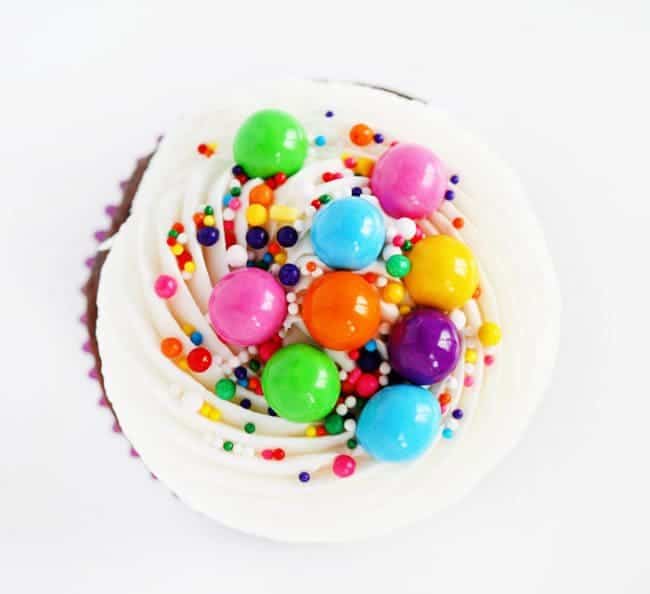
Assembling them is beyond easy. Gather the sprinkles of choice (I am a big fan of a color theme or making these with a special occasion in mind, like New Years.) and start by placing the sixlets on the cupcake. Then add the next smallest size or the medium pearl gems. Finally, sprinkle some of the nonpareils over the top!
I have a little video from facebook where I show how to assemble.
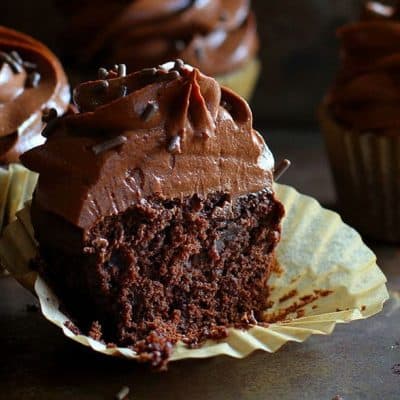
Ultimate Chocolate Cupcakes with Ultimate Chocolate Cream Cheese Frosting
Ingredients
Chocolate Cupcakes
- ½ cup (1 stick / 113 g) unsalted butter
- 2 ounces semi-sweet baking chocolate
- 2 large eggs, room temperature
- ¾ cup (150 g) granulated sugar
- 2 teaspoons vanilla extract
- ½ cup (115 g) sour cream, room temperature
- ½ cup (42 g) unsweetened cocoa powder
- ¾ cup (95 g) all-purpose flour
- ½ teaspoon baking soda
- 1 teaspoon baking powder
- ¼ teaspoon kosher salt
Chocolate Cream Cheese Frosting
- 12 ounces semi-sweet chocolate, chips or chopped bar
- 1 ½ cups (3 sticks / 339 g) unsalted butter
- 8 ounces cream cheese, room temperature
- 2 cups (250 g) confectioners' sugar
- ¼ cup (30 g) unsweetened cocoa powder
- ¼ cup freshly brewed coffee
- chocolate sprinkles, optional
Instructions
Chocolate Cupcakes
- Preheat the oven to 350°F. Line a standard 12-cup muffin pan with liners. Set aside.
- Add the butter and chocolate to a microwave-safe bowl. Heat in 20-second increments, stirring after every 20 seconds, until the chocolate is melted and smooth (about 1-2 minutes total). Set aside to cool slightly.
- In the bowl of a stand mixer fitted with the whisk attachment, add the eggs, sugar, vanilla, and sour cream. Whisk on medium speed until smooth. (about 1 minute)
- In a separate bowl, whisk together the cocoa powder, flour, baking soda, baking powder, and salt.
- Add the butter and chocolate mixture to the stand mixer and whisk for about 30 seconds, or until smooth.
- With the mixer on low, slowly sprinkle in the flour mixture, about ¼ cup at a time. Mix until just combined. The batter will be very thick.
- Fill the cupcake liners ⅔ of the way full with batter. Bake for 15-18 minutes. The center of the cupcake should spring back up if gently pressed, and a toothpick should come out mostly clean when inserted in the middle. Allow the cupcakes to cool.
Chocolate Cream Cheese Frosting
- Add the chocolate to a microwave-safe bowl. Heat in 20-second increments, stirring after every 20 seconds, until the chocolate is melted and creamy (about 1-2 minutes total).
- To the bowl of a stand mixer fitted with the paddle attachment, cream together the butter and cream cheese. Slowly pour in the melted chocolate. Scrape the sides as needed.
- In a separate bowl, whisk together the hot coffee and cocoa powder. If the mixture seems too thick, an additional tablespoon of hot coffee can be added.
- Add the coffee mixture to the butter mixture. Mix on low until combined.
- With the mixer still on low, add in the confectioners sugar, 1 cup at a time. Once incorporated, turn mixer on high for 1-2 minutes.
- Frost the cooled cupcakes, add sprinkles if desired, and serve.
Did you make this recipe?
Thank you for making my recipe! You took pictures, right? Well go ahead and post them on Instagram! Be sure to mention me @iambaker and use the hashtag #YouAreBaker.
I love using my Ultimate Chocolate Cupcake recipe above but have also used my white cupcake recipe in these images. I used my favorite whipped vanilla buttercream to pipe. (I love the 8B tip for Sixlets Cupcakes!)
Check out my other cupcake decorating here!



You’re so creative! Can you please share the manufacturer of the 88 tip you used? Thanks so much!
Its 8B (eightB) and I think it was Bakery Crafts.
Where do you order your sixlets/sprinkles from? I love the colours.
I just order from amazon. 🙂
Another winning tutorial I read and wished I could replicate! Thanks so much for the inspiration!!
Thank you for your tutorials and recipes. I used your recipes for my icing for Wedding cupcakes and they were perfect!