White Chocolate Raspberry Scones are the perfect blend of white chocolate and raspberries mixed into the perfect scone recipe. With a few tricks and tips, you will not go wrong with serving this sweet breakfast or treat. Check out my original Scone Recipe for a no-fail, perfect scone every time!
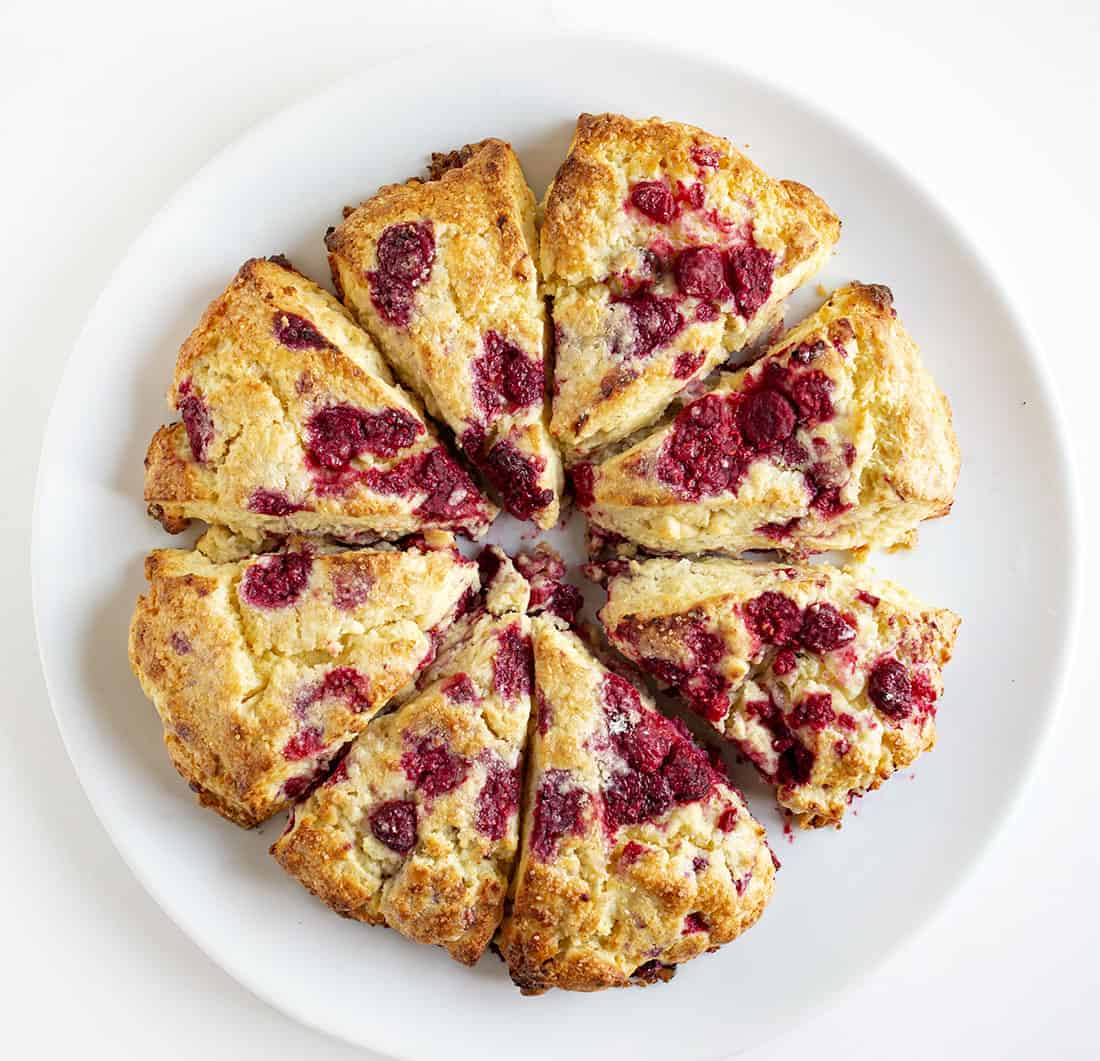
White Chocolate Raspberry Scones
This recipe is based on my perfect Scones Recipe, one that I have been perfecting for several years! I love a slightly sweet scone, one that has a perfect texture that is complemented by extra ingredients. These White Chocolate Raspberry Scones definitely fit the bill!
White Chocolate Raspberry Scones Ingredients
- Flour–For gluten-free scones, simply substitute gluten-free flour for all-purpose flour. I have also used Bread Flour in this recipe and quite frankly, I prefer it. However, bread flour is not a common ingredient in most kitchens and also changes the texture of the scones, making them a bit lighter. This might confuse someone who is used to the traditional version of scones, so I only recommend trying it after you have mastered this recipe!
- Sugar–Granulated sugar is used in the dough. Turbinado sugar is used as a topping.
- Butter–This no-fail approach to baking scones is easy to do and a MUST! Use the fine side of the grater and grate over a plate. Be sure to spray the grater with non-stick spray before grating. Then pop in the freezer. Grated butter only needs a few minutes in the freezer to firm up, so it really makes prep time much easier.
- White chocolate–Be sure to choose a good quality white chocolate. It should have at least 20% cocoa butter in it, and no more than 55% sweeteners. Stay away from white chocolate that is made primarily of milk, oil, and sugar.
- Heavy Whipping Cream– Quick note on the amounts used: The more humid it is, the less moisture you would need, so use the 1/2 cup amount in the summer when the air is moist. In the winter, or when the air is dry, it makes sense that you would use the greater, or 2/3 cup amount of liquid. Whether you know your dry or humid air, start with the smaller amount. You can always add more half-and-half or milk if you need it.
Can I Use Frozen Raspberries?
Yes, just be mindful of the difference between fresh and frozen in the end result. I prefer frozen as they aren’t as juicy and breakable when you add them to the dough, but you can use fresh if you prefer.
- Frozen raspberries–You can add about a tablespoon of (or enough to coat) flour to the frozen raspberries and place them back in the freezer until you are ready to add them to the dough. Don’t be scared of some red!
- Fresh raspberries–To use fresh raspberries, rinse them well and then lay them on a paper towel to dry. Add them at the very last minute and just incorporate them into the dough.
What is Turbinado Sugar?
Turbinado Sugar is a sugar that would fall between granulated sugar and light brown sugar in both color and flavor. It has a yellowish-brown color and with some molasses content left in the turbinado sugar (which gives it the color), it will provide a slight butterscotch flavor and has larger and coarser grains. If you can’t find turbinado sugar, you can use granulated sugar for the topping, but I would use a bit less.
How to Serve Scones
Scones are best served warm, and if they have been sitting out for a while, bake them for about 10 minutes at 350°F. Be sure to cover them lightly with tin foil when reheating them.

Why Freeze the Dough?
Why freeze, you ask? Freezing relaxes the gluten in the flour, which makes the scones rise higher. Remember the flat scones you may have ordered at your local coffee shop? Freezing also chills the fat which gives the scones their signature flaky texture.
Can You Freeze the Dough Before Baking?
Yes! You don’t have to bake the scones after the 60 minutes if you changed your mind or just wanted to be prepared. In fact, once the dough has chilled for 60 minutes, wrap it in plastic, put it in a sealable freezer bag, and store it for up to a month. Be sure to label and date the bag. Then, just bake as directed, from the freezer, with maybe a few minutes added to the bake time. These are best used in about 3 weeks.
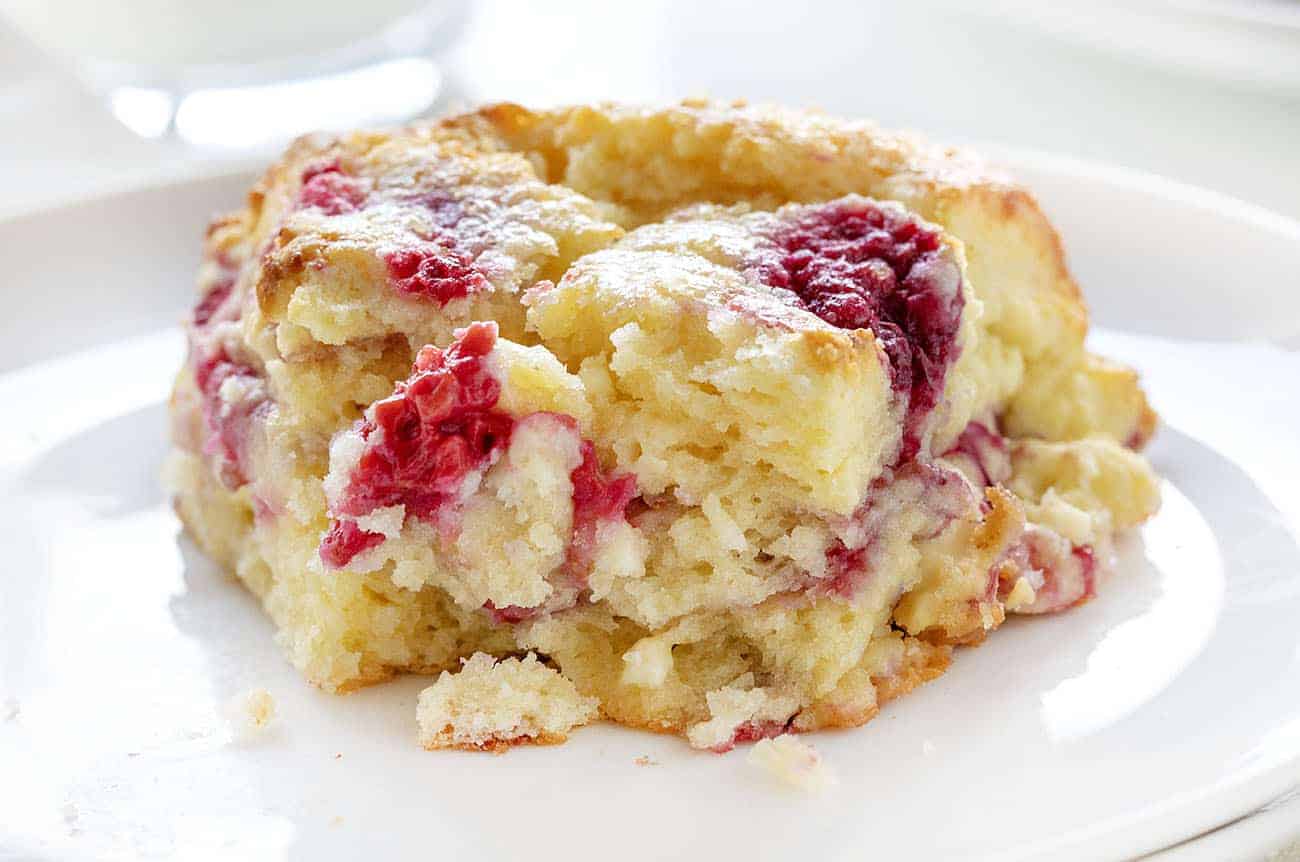
How to Freeze Baked Scones
Wrap the scones individually and then place them into an airtight container or a freezer-safe sealable plastic bag. Be sure to label and date. If you freeze after baking, the scones last about 3 months in the freezer. To reheat, bake as directed, from the freezer, with maybe a few minutes added to the bake time.
More Scone Recipes
White Chocolate Raspberry Scones
Ingredients
DOUGH
- 2½ cups (313g) all-purpose flour, plus a tablespoon to coat frozen raspberries
- ½ cup (100g) granulated sugar
- ¾ teaspoon salt
- 1 tablespoon baking powder
- ½ cup (113g) cold butter, grated
- 4 ounces white chocolate, roughly chopped and good quality
- 2 large eggs, room temperature
- 1 teaspoon almond extract
- ½ -⅔ cup (113g-152g) heavy whipping cream*
- 1 cup frozen raspberries, sprinkled with flour
TOPPING
- 2 tablespoons heavy cream, brushed on
- 2 tablespoons turbinado sugar, can use granulated
Instructions
- Sprinkle the frozen raspberries with flour and put them back in the freezer until you incorporate them into the mixture.
- In a large mixing bowl, whisk together the flour, sugar, salt, and baking powder.
- Work in the grated butter with a fork just until the mixture is incorporated.
- Add in the chopped white chocolate.
- In a separate mixing bowl, whisk together the eggs, almond extract, and heavy whipping cream.
- Add the liquid ingredients to the dry ingredients and stir until all is moistened and holds together.
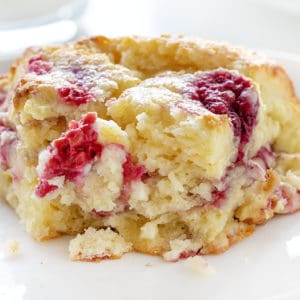
- Gently mix in the frozen raspberries, folding the dough 3-4 times. There will be some bleeding into the dough and that is ok! (I prefer it!)
- Line a baking sheet with parchment. Sprinkle a bit of flour on top of the parchment or pan.
- Scrape the dough onto the floured parchment or pan, and make a circle. The circle should be about ¾ inch thick.
- Place the pan of uncut scones in the freezer for 30-60 minutes, uncovered. (Chilling the scones helps to relax the gluten in the flour, which makes the scones tender and helps to ensure they will rise higher. It also chills the fat, which will make the scones a bit flakier.)
- Preheat the oven to 425°F.
- After the scones have chilled, use a knife or bench scraper and slice the circle into 6-8 wedges. (I prefer 8)
- Carefully pull the wedges away from the center to separate them just a bit; there should be about 1/2 inch space between them.
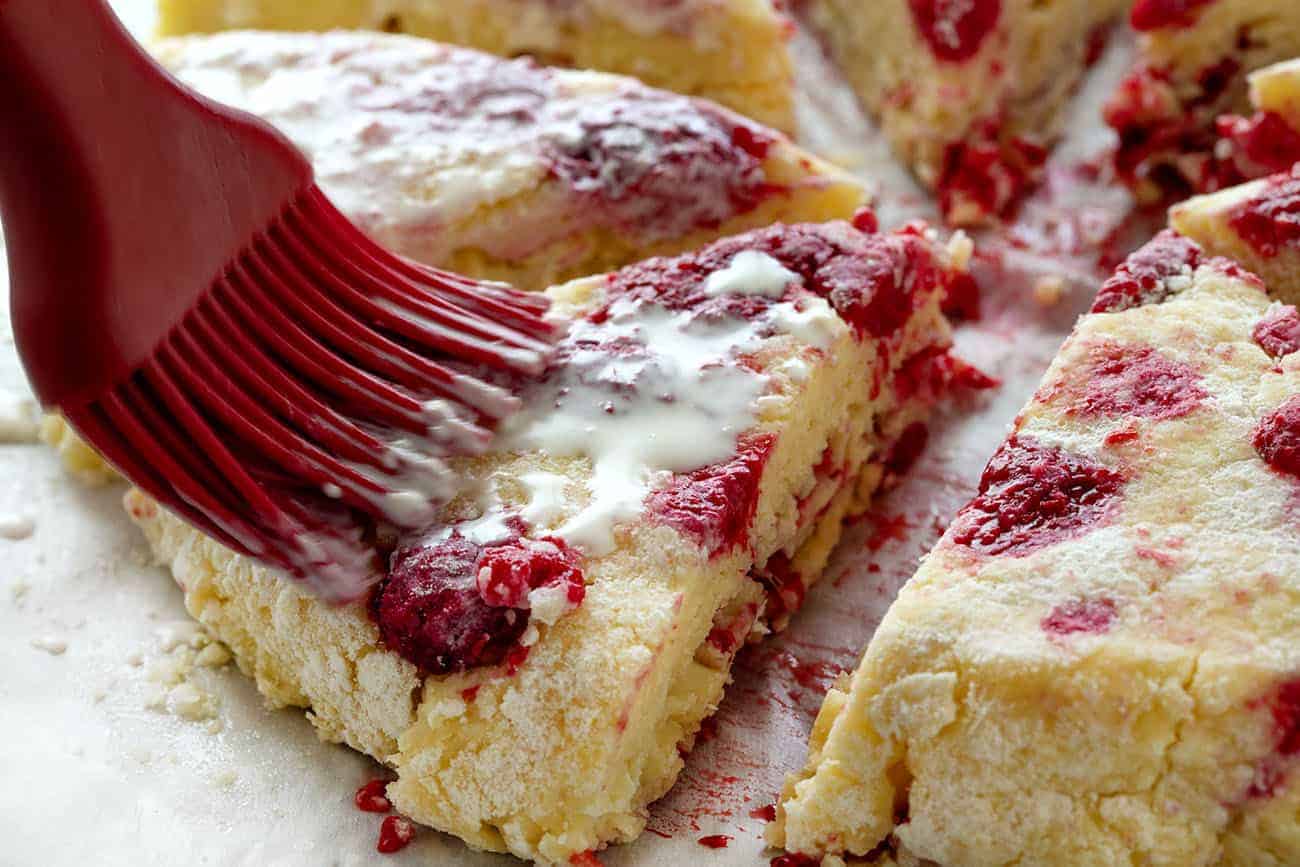
- Brush on the heavy cream (making sure to cover the sides) and sprinkle the turbinado sugar.
- Bake the scones in the middle of your oven for 18-23 minutes.
- Remove the scones from the oven, and cool briefly on the pan. Serve warm.
Notes
Did you make this recipe?
Thank you for making my recipe! You took pictures, right? Well go ahead and post them on Instagram! Be sure to mention me @iambaker and use the hashtag #YouAreBaker.





OH MY … DÉLICIEUX !!
I did use 18% cream instead and it’s still sooo good. I am thinking of using a even lighter cream next time. Thank you for the recipe Amanda 💕
Sylvie
I have just started making your scones and I’m in love with them. The recipe is easy to follow and ingredients are what I always have on hand. The latest was an experiment, I used fresh rhubarb, OMG amazing. !!!! This past 2 weeks I’ve made Maple Bacon, dark cherry, blueberry, raspberry, and chia powder scones. With the chia I topped off with cinnamon, slivered almonds and drizzled icing. My family and friends are impressed and sending me orders!!! Thanks for the recipe!