I wanted to make a fun Halloween cake this year… but I couldn’t figure out what to do. I don’t like skulls. (except when they are protecting that gelatinous mush that is my brain.) I don’t like spiders…Anywhere…Ever! I don’t like ghosts and goblins and witches and all things spooky. What does that leave me with? Well, pumpkins of course! (I told you I was obsessed!) For this cake, you can use my perfect chocolate cake recipe, white cake recipe, and buttercream recipe. For the white cake, just be sure to use food coloring to make one of your cupcakes yellow for the candle flame!
How to Assemble
After the cake and cupcakes have cooled, put them into the freezer for AT LEAST one hour.
Level each layer of the cake so it is flat.
You are going to be cutting out the center of the chocolate cakes.
If you have a round cookie cutter, that works well. If not, get a glass
with a width smaller than the base of your cupcake. (Keep one of the
cutouts for your ‘stem.’)
Cut through THREE layers of the chocolate cake. You can place them
on top of each other to make sure they line up and then cut. Or you can
cut each layer individually then place them on top of each other and
trim.
For the fourth chocolate cake, I cut a much smaller circle, as I
wanted to ’squish’ in the yellow cake. I shaved the yellow cupcake into
a rough diamond shape, to resemble a flame.
Cut three white cupcakes so that they are symmetrical. You can just
shave off the sides with a sharp knife. If your cupcakes have been in
the freezer, this works MUCH better. You want them to be round, like
the wick of a candle.
Place one chocolate layer down, add some chocolate frosting as glue,
and continue with two of the remaining layers until you have three
layers stacked. Reserve the layer with the smaller hole.
Now, get your white cupcakes and push them down into the center
hole. You will most likely have a little white cupcake sticking above
the top layer of chocolate cake; just take your knife and trim it off.
Now take the fourth chocolate layer, with the much smaller whole cut
out, and place it in on top of the assembled cake. (Make sure there is
a layer of frosting in there.) ‘Stuff’ in the yellow cupcake. You want
the chocolate to ‘fill in’ around the cupcake so you can see the
diamond shape of the ‘flame’.
Now throw that bad boy in the freezer and let him chill out for at LEAST on hour.
Get your cake out of the freezer, and start trimming away. You want
to make a round shape, like a pumpkin, so cut away the bottom edge, the
part that is touching the plate. You also want to go around the top and
trim away that sharp corner. Very soon, you will start to see a pumpkin
shape forming.
Go ahead and put down a dollop of frosting where you want your stem
to be. You can make it as high as you would like, just be sure to use
frosting in between each layer.
Once you are happy with your shape, you can begin frosting it!
Put about 3/4 of the frosting into a bowl and add orange food
coloring. This can be as little as two drops or as much a 12, depending
on how orange you want it.
Once combined, take a knife and start spreading the frosting over the cake.
I do a crumb coat, which means I do one layer of frosting to seal in
all the crumbs, then put the cake into the freezer for an hour.
After the crumb coat, I finish putting on all of the frosting and
try to smooth it out a bit. With this cake specifically, you can smooth
it out running the flat side of your knife up and down, since that is
kind of how pumpkins are.
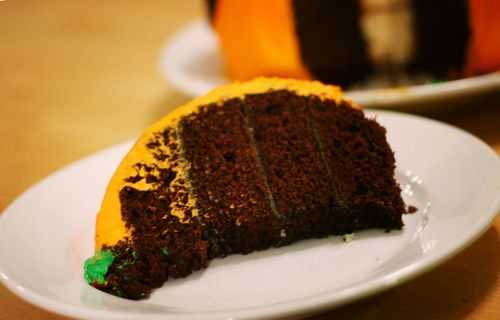
Now you can add the brown or green to the stem, using a small amount
of frosting colored appropriately. You can either try and smooth it out
or you can put frosting in a Ziploc bag, cut off the corner, and just
pipe around the stem to cover it. Either way looks good!
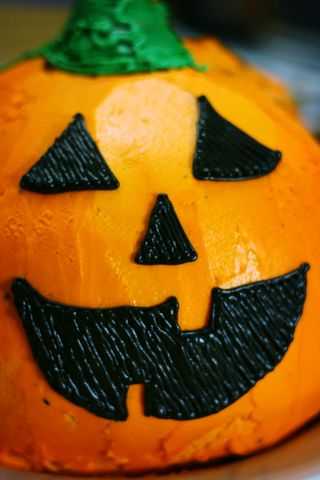
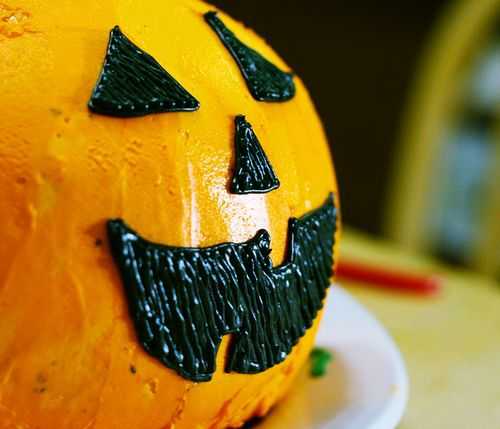
To the remaining frosting, add some black food coloring, and outline the jack-o-lantern face.
Fill it in if you want. Sometimes the outline looks good, too!
I apologize for these somewhat wordy instructions. If you see
anything or think of anything that needs correction, please, just let
me know so I can fix it!
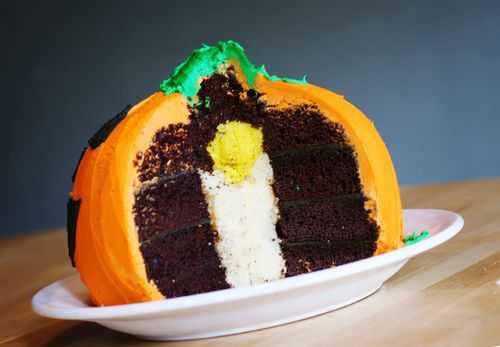
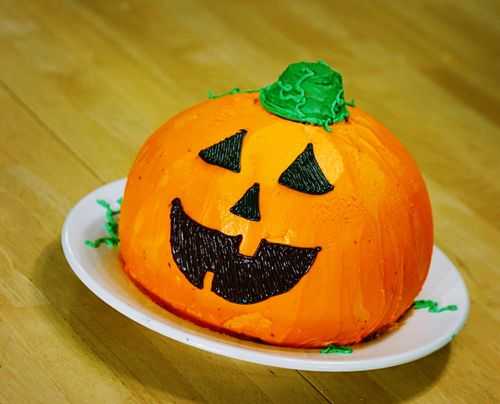
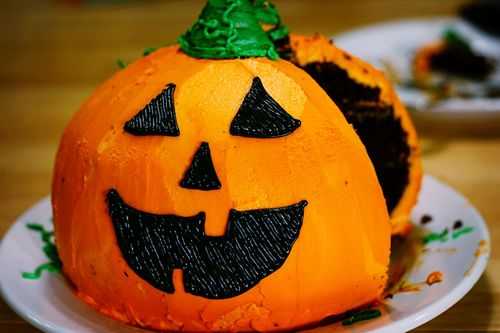
This is my Candle Lit Jack-o-Lantern Cake. It is as much fun to eat as to make! I really like to bake! Stop rhyming for goodness sake!
More Chocolate Cakes
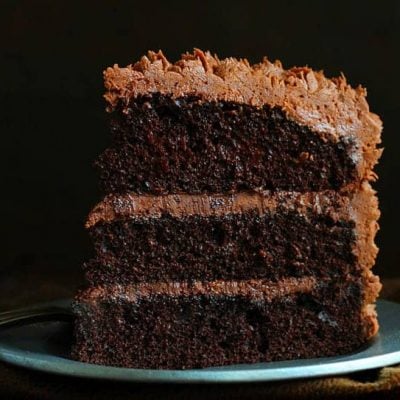
The Perfect Chocolate Cake
Ingredients
- 1 ¾ cup (210 g) all-purpose flour
- 2 cups (400 g) granulated sugar
- ¾ cup (90 g) unsweetened cocoa powder
- 1 teaspoon baking powder
- 1 teaspoon kosher salt
- 1 cup (240 g) buttermilk, room temperature
- 2 large eggs, at room temperature
- 2 teaspoons vanilla extract
- ½ cup (112 g) vegetable oil
- 2 teaspoons baking soda
- 1 cup (237 g) freshly brewed coffee
Instructions
- Sift the flour, sugar, cocoa, baking soda, baking powder, and salt into the bowl and mix until combined.
- In another bowl, combine the buttermilk, oil, eggs, and vanilla.
- With the mixer on low speed, slowly add the wet ingredients to the dry. With mixer still on low, add the coffee and stir just to combine, scraping the bottom of the bowl with a rubber spatula.
- Pour the batter into two 8-inch round prepared pans and bake for 30-40 minutes at 350°F, until a cake tester or toothpick comes out mostly clean (not wet).
- Cool in the pans for about 10 minutes, then turn them out onto a cooling rack and cool completely.
Notes
Did you make this recipe?
Thank you for making my recipe! You took pictures, right? Well go ahead and post them on Instagram! Be sure to mention me @iambaker and use the hashtag #YouAreBaker.


Adorable!! I love the candle inside – its too cute!!
I saw this a week ago or so on flickr and it’s great to see your site 🙂 wonder why I didn’t connect the two?
Diane
At our company we went a whole year without an accident…?
…and we got an ice cream sandwich and leftover halloween cake. Does your company treat you this good?At our company we went a whole year without an accident…?
…and we got an ice cream sandwich and leftover halloween cake. Does your company treat you this good?
I love this cake! Very creative Of Course????
I make one for my granddaughter LilyKate every year for her Oct 28th B’day 🙂 So Fun????