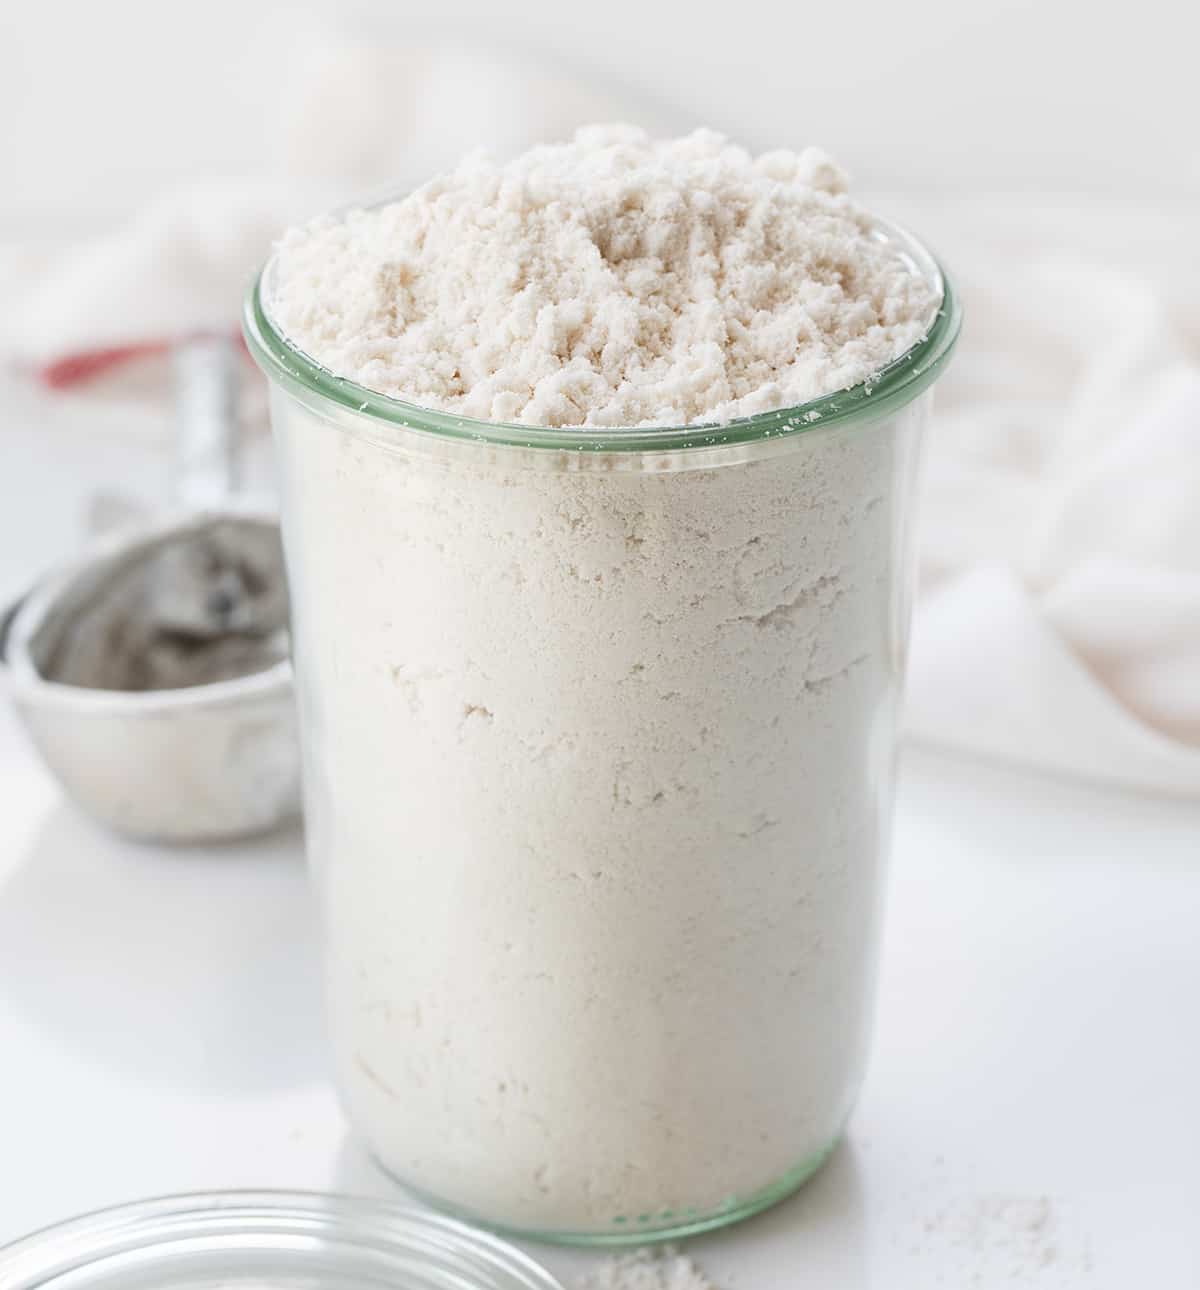
Homemade Bisquick is a premade baking mix that is commonly used to make pancakes, biscuits, and other baked goods. By making your own Bisquick, you have full control over the ingredients, excluding any additives that are sometimes found in pre-packaged mixes. And, it can save you money in the long run! Have some on hand to make my Impossible Pumpkin Pie (which is actually super easy)!
Ingredients & Substitutions
Flour: All-purpose flour provides a balance between structure and tenderness in baked goods. You could substitute whole wheat flour or gluten-free flour. Just keep in mind that altering the flour may require adjustments to the other ingredients or proportions in the recipe to maintain the desired texture and consistency.
Baking Powder: Baking powder is a key ingredient in homemade Bisquick because it helps the baked goods rise and provides them with a light and fluffy texture.
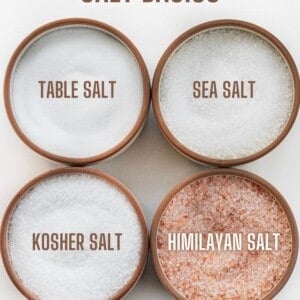
Salt: Salt enhances the flavor and helps with the overall taste of baked goods.
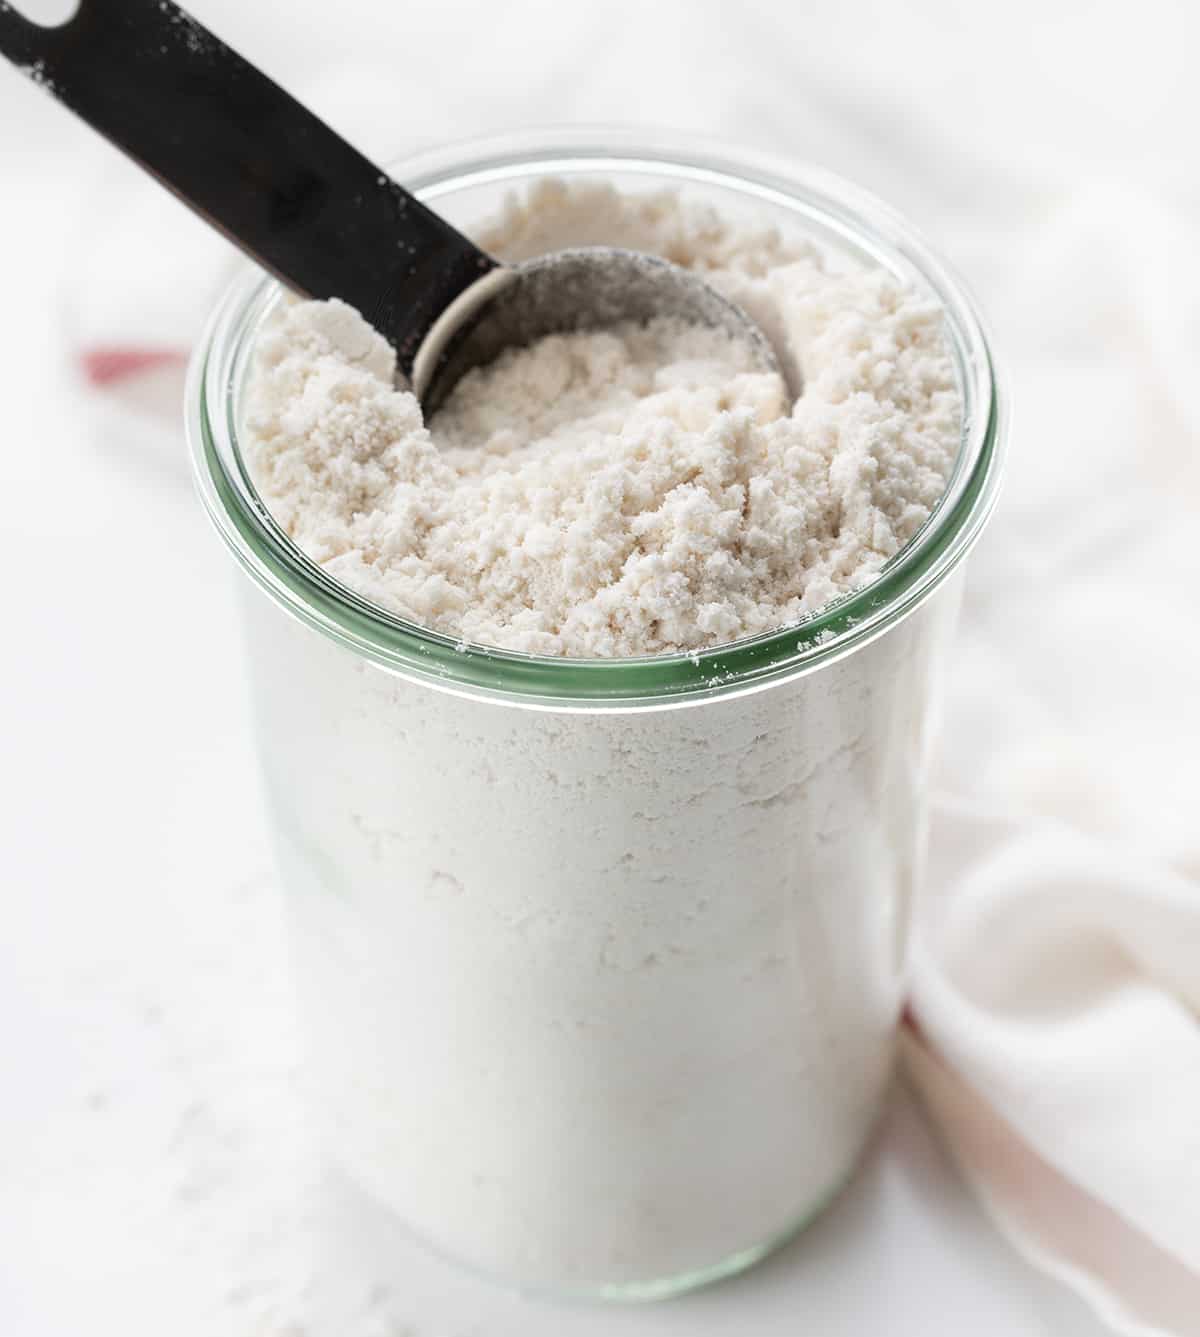
Shortening: Shortening (hydrogenated vegetable oil) is any fat or oil that is solid at room temperature. If you have heard of or seen a big can of Crisco, that is shortening. It has a longer shelf-life when compared to butter, allowing you to store the mix for an extended period of time without spoiling. You could substitute cold, unsalted butter or vegetable oil, but they may affect the final texture and flavor of baked goods.
Shortening vs. Butter in Homemade Bisquick
Shortening has a higher melting point compared to butter, which means it remains solid at higher temperatures. This can be beneficial in recipes that require high heat, such as biscuits or pie crusts. Shortening helps create a flaky texture by creating small air pockets as it melts during baking, resulting in a lighter and tenderer final product.
Shortening has a more neutral flavor compared to butter. It also tends to have a longer shelf life than butter. Shortening contains fewer perishable components, making it more resistant to spoilage.
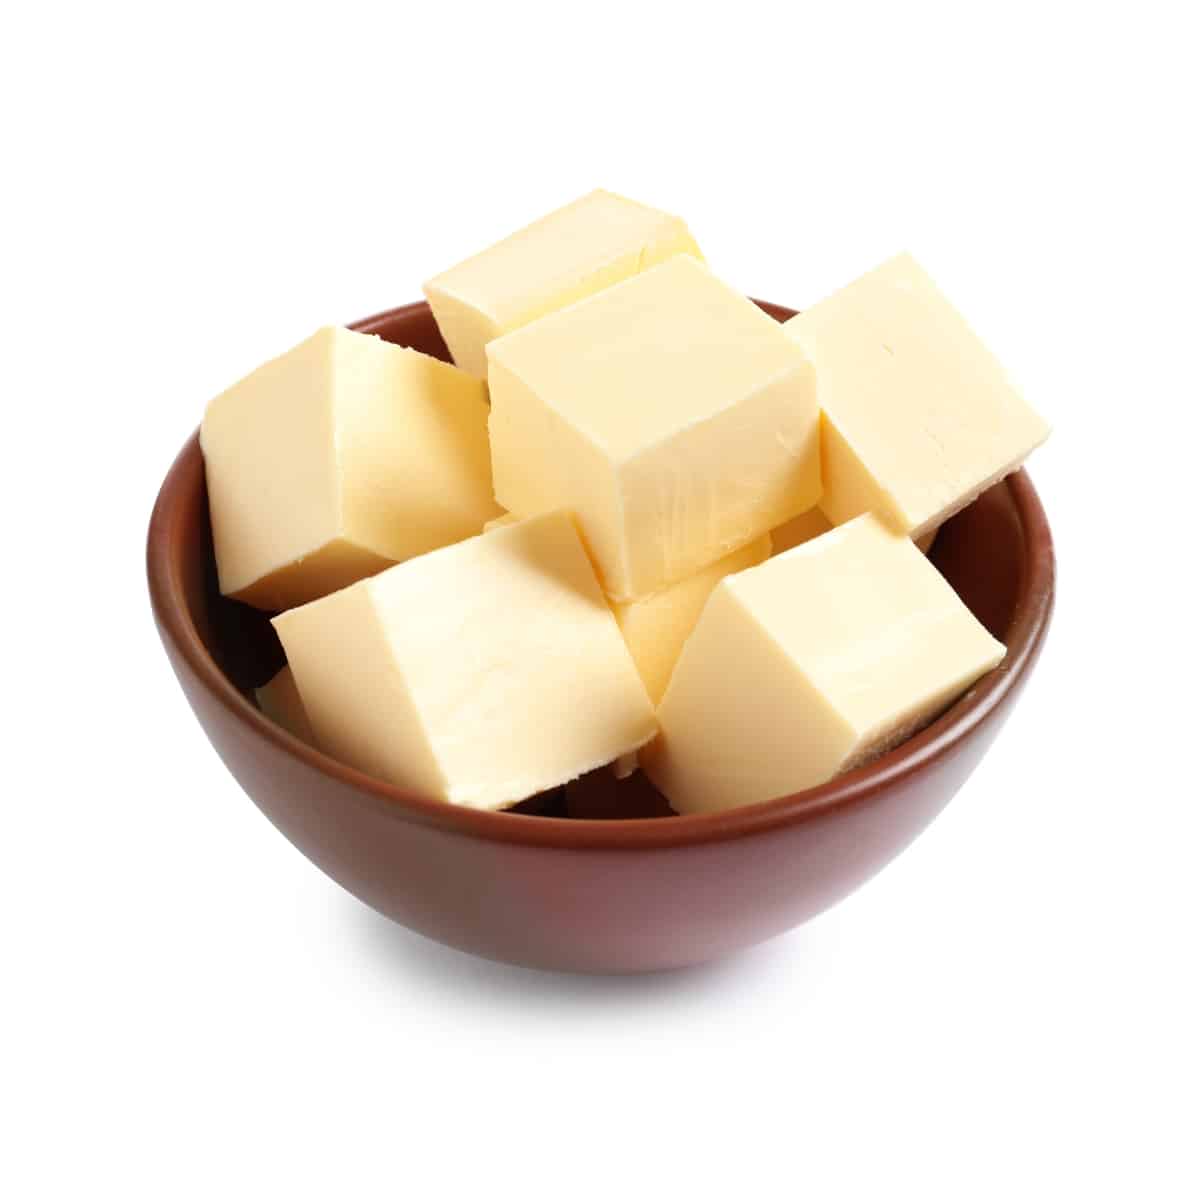
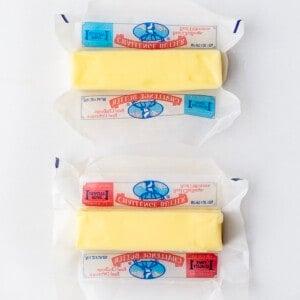
Butter in homemade Bisquick provides a rich and buttery flavor that folks enjoy. It adds a distinct taste to baked goods, enhancing their overall flavor profile. It also contributes to a slightly denser texture, which can be desirable for certain recipes like scones or shortbread.
Butter contains a small amount of water, which can create steam during baking. This steam contributes to the leavening process and helps create a slightly lighter and more delicate texture in the final product.
Using butter in homemade Bisquick means it has a shorter shelf life due to its perishable nature. Butter contains milk solids and water, which can lead to faster spoilage. Homemade Bisquick made with butter should be stored in an airtight container in the refrigerator to keep it fresh.
How To Store Homemade Bisquick
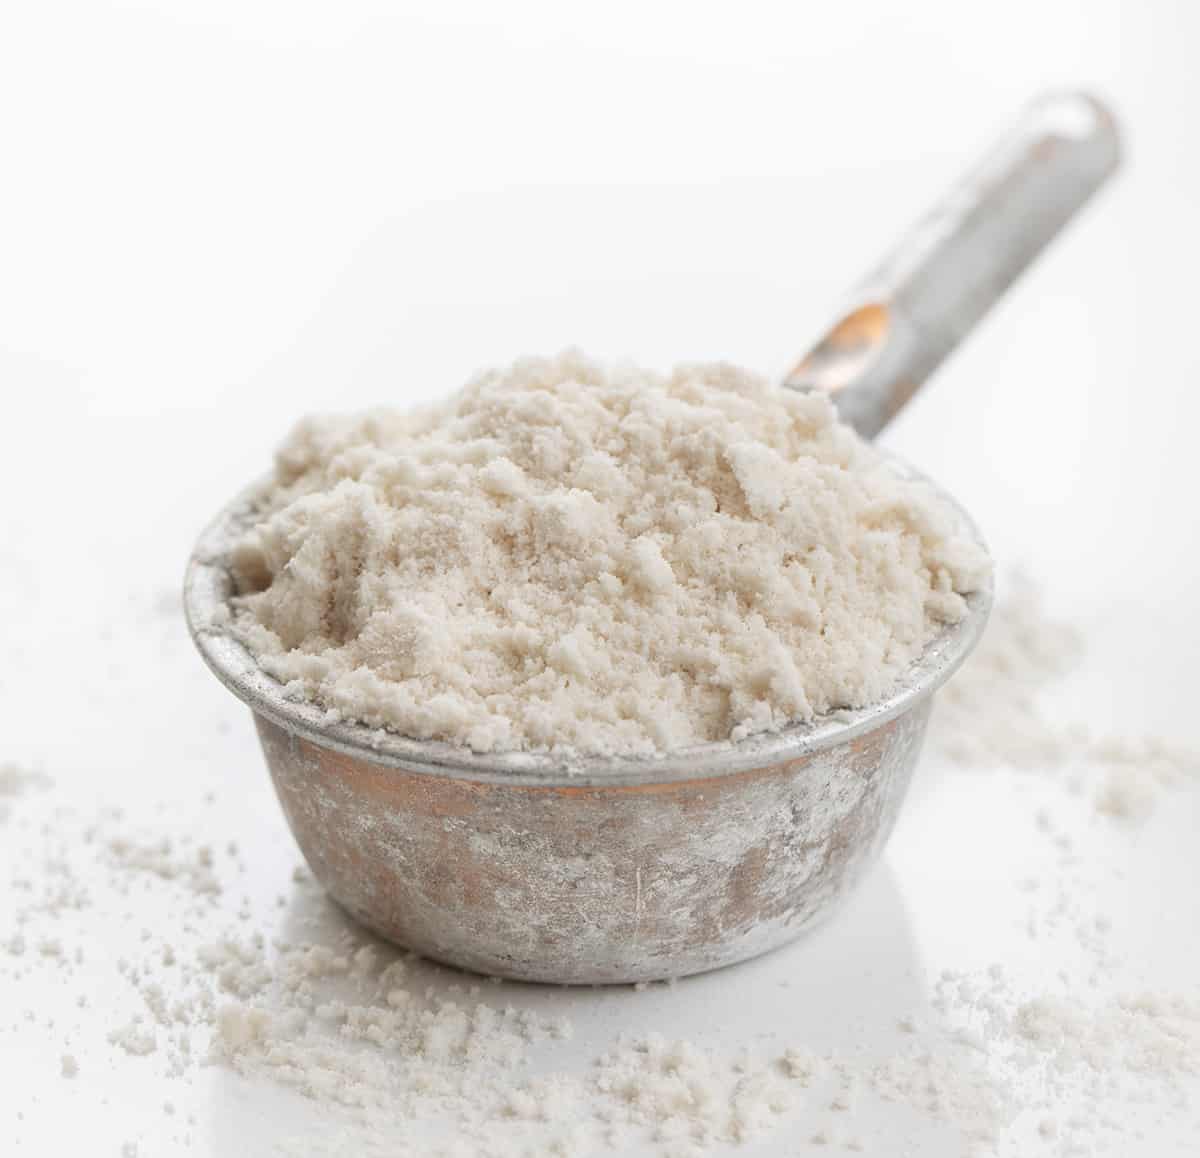
Store homemade Bisquick in an airtight container like a mason jar. Be sure to label and date. It will last up to 3 months in a cool, dark place.
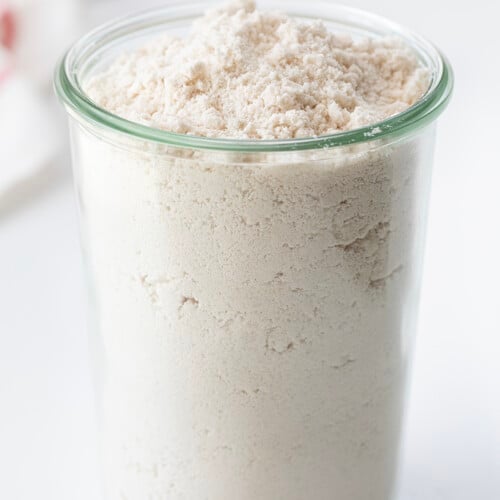
Homemade Bisquick
Ingredients
- 6 cups (750 g) all-purpose flour
- 2 tablespoons baking powder
- 1 teaspoon kosher salt
- 1 cup (205 g) shortening, chilled and cubed
Instructions
- To the bowl of a food processor, add flour, baking powder, and salt. Pulse together to combine.
- With the food processor on low speed, add shortening, cube by cube, until you have a soft, grainy mixture.
- Add the mixture to an airtight container. Store in a cool dry place for up to 3 months.
Video
Did you make this recipe?
Thank you for making my recipe! You took pictures, right? Well go ahead and post them on Instagram! Be sure to mention me @iambaker and use the hashtag #YouAreBaker.
How To Use Homemade Bisquick
Besides biscuits, pancakes, and waffles, there are so many other ways to use the mix. Here are some recipes you may find that have Bisquick as an ingredient:
- Muffins
- Quickbreads
- Appetizers like my Sausage Balls
- Pizza Crusts
- Dumplings
- Fried Foods


How do you make pancakes with it?
I found this on their official website:
Ingredients
2 cups bisquick
1 cup milk
2 tablespoons vegetable oil
2 eggs
Steps
1 Grease or spray griddle or skillet. Heat over medium-high heat or electric griddle to 375°F. (Surface is ready when a few drops of water sprinkled on it dance and disappear.)
2 Stir all ingredients until blended. Pour by slightly less than 1/4 cupfuls onto hot griddle.
3 Cook until edges are dry; about 1 minute 30 seconds. Turn; cook 1 minute 30 seconds or until golden.
Has anyone tried it with butter flavored Crisco?
I have a Bisquick cook book with all kinds of things in it that is made with Bisquick
I am assuming you cannot use butter as not refrigerated. Only Cusco or similar?