Cheesecake in a Jar is a no-bake cheesecake that is layered in a mason jar with a graham cracker crust and topped with cherry pie filling. Try my Peanut Butter Reese’s Cheesecake in a Jar for another fun way to enjoy cheesecake.
Cheesecake in a Jar
This dessert is easy to make, easy to assemble, and so fun to share! It starts with a graham cracker crust and then is topped with cheesecake filling and cherry pie filling. If you aren’t craving cherry, modify the recipe using your favorite fruit topping. There is no baking involved, and you can use the size of mason jars you have on hand.
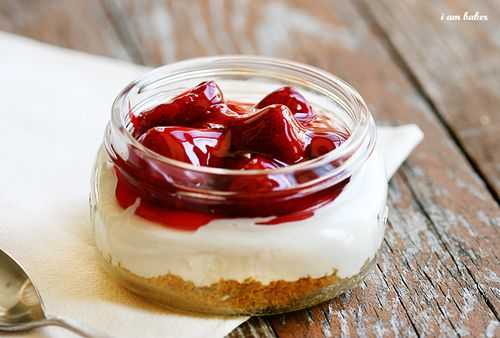
Cheesecake in a Jar Ingredients
Crust: It’s easy to put together the crust. You can buy graham cracker crumbs or simply crush up graham crackers. You will need 3-4 full sheets of graham crackers to get about 1/2 cup crushed.
Cream Cheese: Make sure the cream cheese is at room temperature before mixing it with the other ingredients.
Sweetened Condensed Milk: The sweetened condensed milk adds sweetness and creaminess. Do not substitute evaporated milk in this recipe.
Lemon Juice: Lemon juice is added to cheesecake to help it keep its structure. It is used in many cheesecake recipes, even though you probably didn’t realize it was in there! Leaving it out will affect the texture and taste.
Vanilla Extract: Use clear or regular vanilla extract in this recipe.
Pie Filling: I added cherry pie filling to my cheesecakes in a jar. Use your favorite fruit topping.
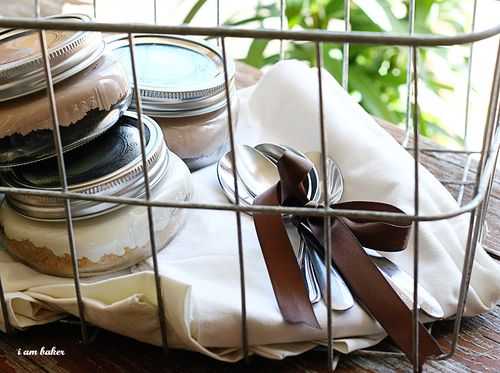
The Crust
An easy cheesecake crust recipe can be made from graham crackers, any cookies, animal crackers, etc. There are cheesecakes with brownie crusts and cookie crusts too, but we’re going to stick to the basic cheesecake crust recipe using graham crackers.
To make the crust, combine the graham cracker crumbs, sugar, and melted butter in a small bowl. Use a fork to mix the three ingredients, making sure that every single graham cracker crumb is coated in butter. The butter binds everything together so bits of crust don’t pop up in the cheesecake. Add a little more butter if needed.
How to Make Cheesecake in a Jar
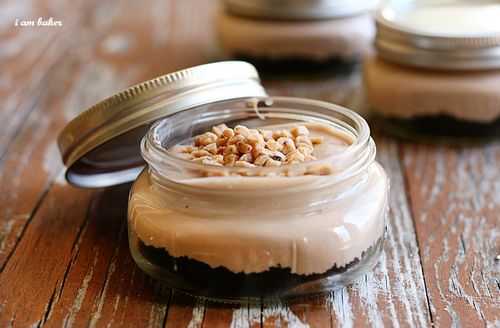
It’s simple to get the cheesecake filling made. Simply use a handheld mixer to combine the cream cheese, sweetened condensed milk, lemon juice, and vanilla. Cream together until light and fluffy. Once the filling is mixed, it’s time to assemble the cheesecakes in a jar.
In this recipe, I used two pint-sized mason jars. You could definitely make more in smaller jars (individual-sized portions) if you have them on hand. (And, to be fair, a pint jar is like three pieces of cheesecake…a lot!) To assemble the cheesecakes, first, press the graham cracker crust down in the bottom of a jar. Using the back of a spoon will help.
Next, add the cheesecake filling to the jar, filling about 3/4 of the way to the top. Finally, add the cherry pie filling (or the kind of pie filling you are using) to the top. Repeat to make the second cheesecake. Store the cheesecakes in the refrigerator for a minimum of 2 hours, up to overnight.
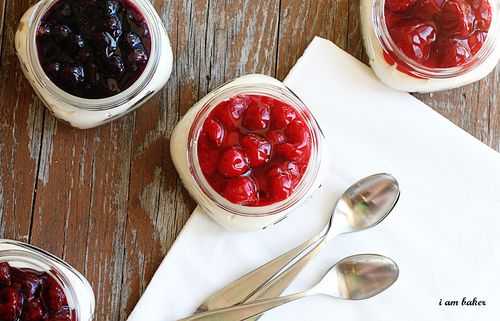
Looking for More No-Bake Desserts?
Chocolate Caramel Cheesecake Pie

Cheesecake in a Jar
Ingredients
Crust
- ½ cup graham cracker crumbs
- 2 tablespoons granulated sugar
- 2 tablespoons butter, melted
Filling
- 1 package (8 ounces) cream cheese, room temperature
- 1 can (14 ounces) sweetened condensed milk
- 2 tablespoons lemon juice
- 1 teaspoon clear vanilla extract
Topping
- 1 cup cherry pie filling, divided
Instructions
Crust
- In a small bowl, combine the graham cracker crumbs, sugar, and melted butter, mixing well with a fork. (You want every crumb coated in the butter as this will be the glue that holds it together.) If needed, add more butter.
Filling
- In a medium bowl, add cream cheese, sweetened condensed milk, lemon juice, and vanilla. Use a hand mixer to combine.
Assembly
- Press half of the graham cracker crust to the bottom of a pint mason jar.
- Add half the cheesecake filling to the jar, filling about ¾ of the way up.
- Top with half the cherry pie filling. Repeat with the remaining ingredients.
- Place the jars of cheesecake in the refrigerator to chill for a minimum of 2 hours, up to overnight.
Did you make this recipe?
Thank you for making my recipe! You took pictures, right? Well go ahead and post them on Instagram! Be sure to mention me @iambaker and use the hashtag #YouAreBaker.


It looks so wonderful! It’s gonna be a perfect base for the weekend party!