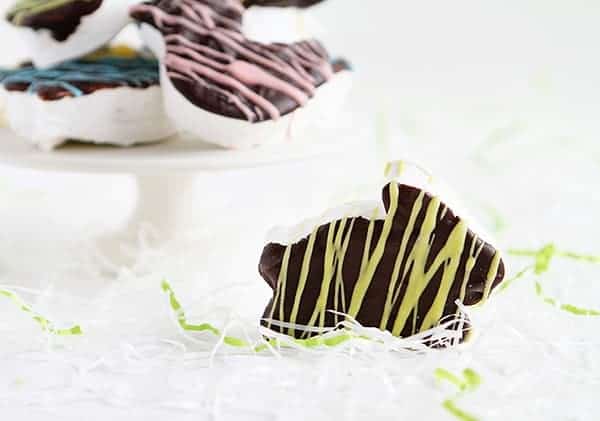
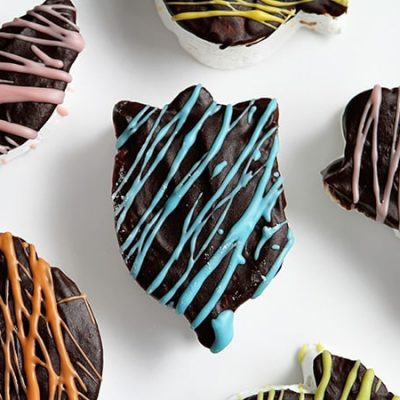
Making your own marshmallows is one of those things that everyone simply must do at least once. The flavor and texture of a from-scratch marshmallow are second-to-none. Add some rich chocolate ganache and colorful candy melts and you now have a really really fun way to enjoy these tasty treats!
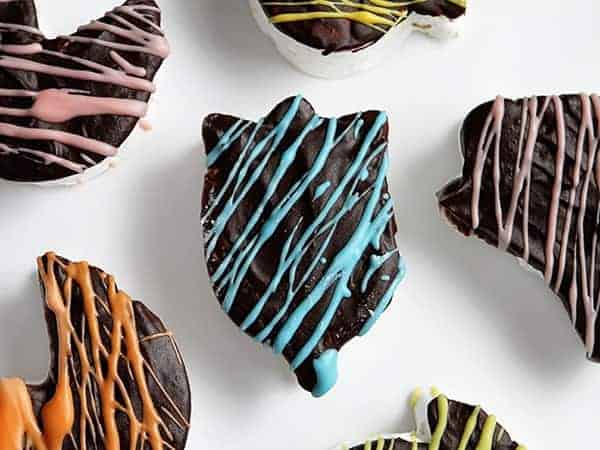
Homemade Marshmallows
So not only do homemade marshmallows taste 100% better than store-bought, but they have a couple of other amazing qualities. Like how beautifully they melt into hot chocolate. And how you can make them any size you want, like personalizing them with letter cookie-cutters! And if you store them correctly, they last a long time.
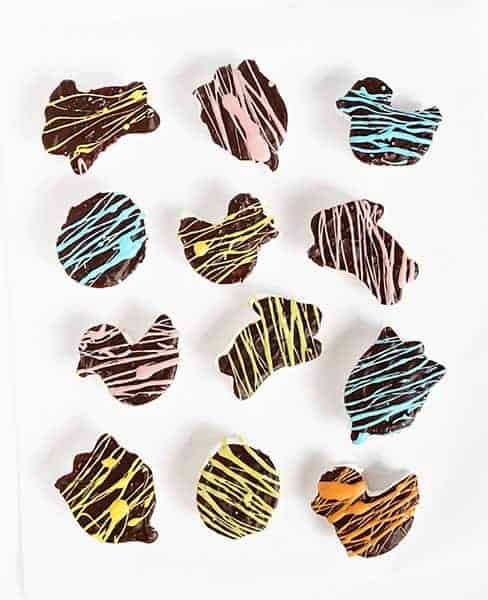
Tips on How to Make Easter Homemade Marshmallows
After you have prepared the marshmallow recipe below, follow these easy steps.
Mix 1/4 cup confectioners sugar and 1/4 cup cornstarch in a bowl. Sift about half of the mixture over a clean, hard surface. (a countertop works great) Remove the marshmallows from the pan and set on the prepared surface. Sift a bit more of the powdered sugar mixture over the marshmallows but make sure you don’t use all of it.
Place cookie cutter (such as a bunny shape) into powdered sugar mixture and cover the edges of the cutter well.
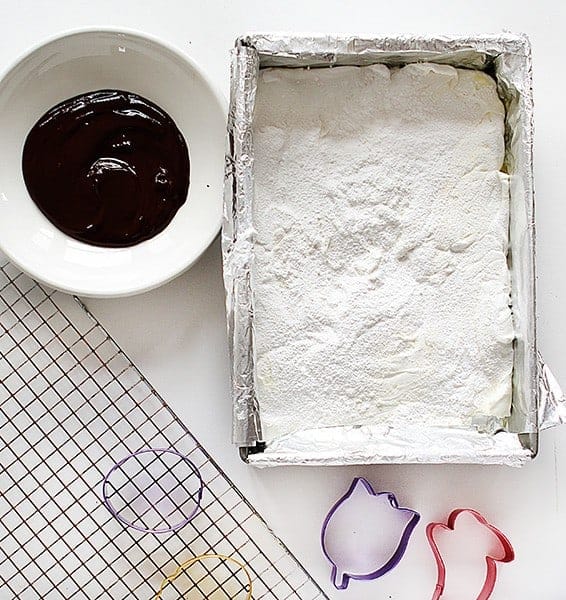
Firmly press the bunny cookie cutter down into the marshmallow until you can feel the cutter break through. Lift up the cookie cutter and gently press out the marshmallow shape onto a cooling rack. Using other spring-theme cutters, press out all the shapes and set on cooling rack.
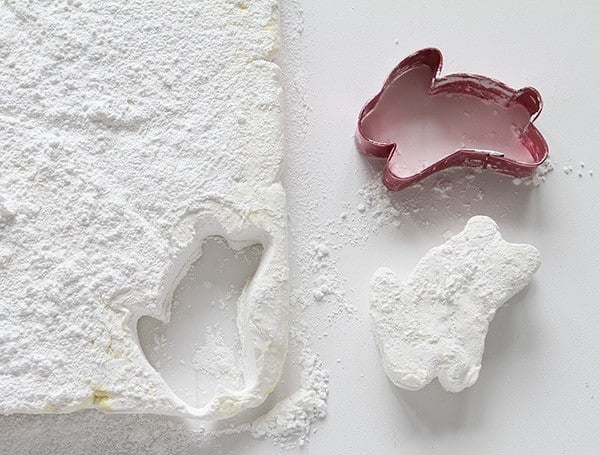
The next step is to dip them into the ganache, but if you want to do this at a different time, place all the cut out shapes and leftovers into an airtight container until you are ready.
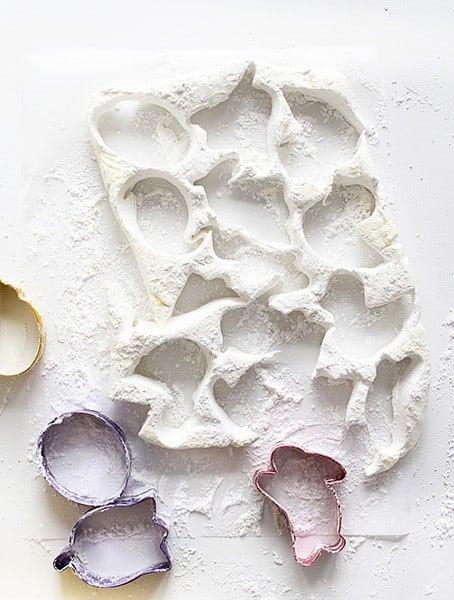
Tip: Don’t throw away the leftover pieces of marshmallow! Cut the excess marshmallow into bite-size pieces and coat with powdered sugar, then seal in an airtight container. They are perfect for hot cocoa or on top of chocolate pancakes!
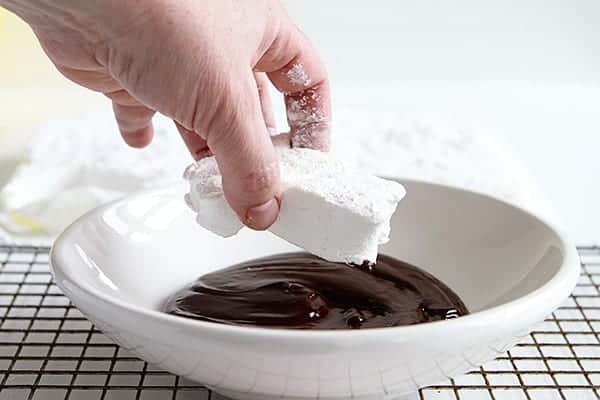
When ready to assemble, prepare the ganache in a microwave-safe bowl that is wide enough for dipping marshmallows.
Homemade Chocolate Ganache Recipe
- Place 4 ounces of coarsely chopped semisweet chocolate and 1/4 cup of heavy cream into a microwave-safe dish.
- Microwave for 30 seconds, stir, then microwave for another 30 seconds.
- Remove and stir until ingredients are fully incorporated and chocolate is melted. (If needed, you can return the mixture to microwave for 15-second increments until the chocolate is completely melted.)
Set the bowl of chocolate ganache next to the rack of marshmallows. Dip the flat bottom side of each marshmallow into the warm ganache. Allow any excess chocolate to drip off or use an offset spatula to smooth and fill in any spots.
Place the marshmallow, chocolate-side up, on the cooling rack and continue with the remaining marshmallows. Place the chocolate-covered marshmallows in the freezer for 30 minutes or in the refrigerator for 2 hours.
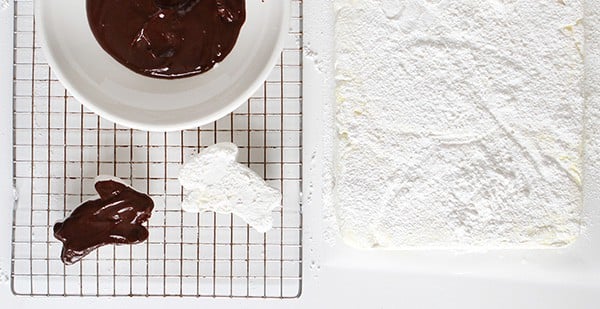
Prepare the candy melts.
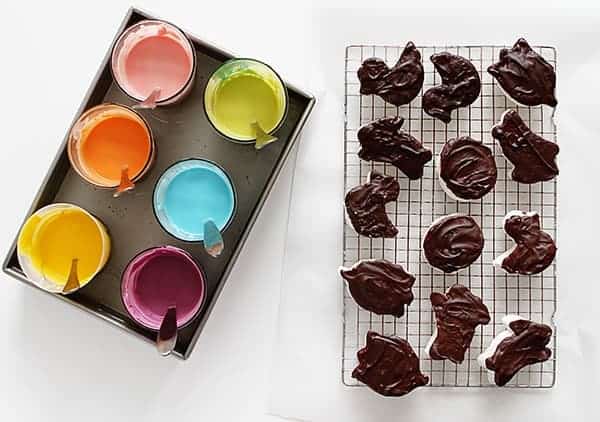
Place the pink candy melts into a microwave safe glass or bowl and heat for 30 seconds, stirring after heating to make sure the melts are heated evenly. Continue to melt in 30-second increments if necessary. Repeat with all remaining colors.
Tip: Heat the candy melts in a tall kitchen glass (keeping colors separate) and place it in a 9×13 pan filled with hot water. This helps the candy melts stay liquid while heating all the colors.
Place a large piece of parchment paper on a clean surface and carefully transfer the marshmallows from the wire rack to the parchment.
Dip a spoon into the pink candy melt, then drizzle over the first marshmallow. Move your spoon back and forth in short bursts to cover the marshmallow completely. Repeat with all colors. Allow candy melts to harden, then serve.
Once the chocolate is completely hardened, you can wrap the marshmallows in decorative plastic bags for a springtime celebration! These festive treats are best when served within 3 days of preparation.
Homemade Marshmallows
Ingredients
- 2 envelopes unflavored gelatin 4-1/4 teaspoons
- 3/4 cup cold water
- 2 cups granulated sugar
- 2/3 cup light-color corn syrup
- 1/3 cup refrigerated egg white product or 2 pasteurized liquid egg whites**
- 1 tablespoon vanilla
- 1/4 tsp. salt
- 2/3 cup confectioners sugar
- 3 tablespoons cornstarch
Instructions
- Line a 13x9x2-inch baking pan with plastic wrap or line bottom of pan with waxed paper or parchment paper. Coat the plastic or paper with nonstick cooking spray; set pan aside.
- In a large metal or heatproof bowl, sprinkle gelatin over 1/2 cup of the cold water; set aside.
- In a 2-quart heavy saucepan, stir together remaining 1/4 cup water, 1-3/4 cups of the sugar, and the corn syrup until combined.
- Bring to boiling over medium-high heat. Clip a candy thermometer to the side of the saucepan. Cook, without stirring, over medium-high heat until thermometer registers 260 degrees F, hard-ball stage (12 to 15 minutes total). Remove from heat; pour over gelatin mixture in bowl and stir well to combine (mixture will foam and bubble up in the bowl).
- Meanwhile, in a clean mixing bowl, beat the egg whites, vanilla, and salt with an electric mixer on high speed until foamy.
- Gradually add remaining 1/4 cup sugar, 1 tablespoon at a time, until stiff peaks form (tips stand straight).
- With the mixer running on high speed, gradually add gelatin mixture to egg white mixture, beating for 5 to 7 minutes or until thick (the consistency of thick, pourable cake batter). Quickly and gently spread marshmallow mixture into prepared pan. Coat another piece of plastic wrap with nonstick coating; place, coated side down, over marshmallow mixture in pan. Chill at least 5 hours or until firm.
- In a bowl, combine powdered sugar and cornstarch; sprinkle about 1/4 of the mixture evenly onto a large cutting board. Remove plastic wrap from top of marshmallows. Loosen sides of marshmallow mixture if necessary and carefully invert onto the cutting board. Remove plastic wrap or paper. Sprinkle top with some of the remaining powdered sugar mixture. Cut marshmallows into 1-inch squares. Place squares, about one-third at a time, in a large resealable plastic bag. Add remaining powdered sugar mixture; seal bag and shake to coat all sides of marshmallows with powdered sugar mixture.
Did you make this recipe?
Thank you for making my recipe! You took pictures, right? Well go ahead and post them on Instagram! Be sure to mention me @iambaker and use the hashtag #YouAreBaker.
As you can imagine, kids absolutely love that last step, and letting them be there and helping in the kitchen is definitely something I love!
If you are making these in cooler temperatures, try dipping them into a Best Homemade Hot Cocoa!


Homemade marshmallows are the best! I would love to make these RIGHT NOW but I gave up sugar for Lent.
Aww, looks so cute I wouldn’t be able to eat it! (:
These marshmallows are adorable, Amanda! I’ve been wanting to make homemade marshmallows for a while now. I am saving this recipe for later.
These are super cute for Easter! Love the candy melts!
So fun Amanda! I’ll take a big bunch of these in my Easter basket any day.
Amanda, I love these!!! so perfect for Easter and what a great, fun project to do with the kids! love!!
I agree making your own marshmellows is pretty awesome! They taste sooo much better than that gunk in the store!!! I love the cutout shapes too!
Those are so cute!! My sister recently dipped some in chocolate and they were awesome – you definitely can’t beat homemade marshmallows.
The.cutest.ever! Love these adorable Spring-inspired marshmallow treats! Pinning…
Oh my goodness, I LOVE the look of this! So festive 🙂