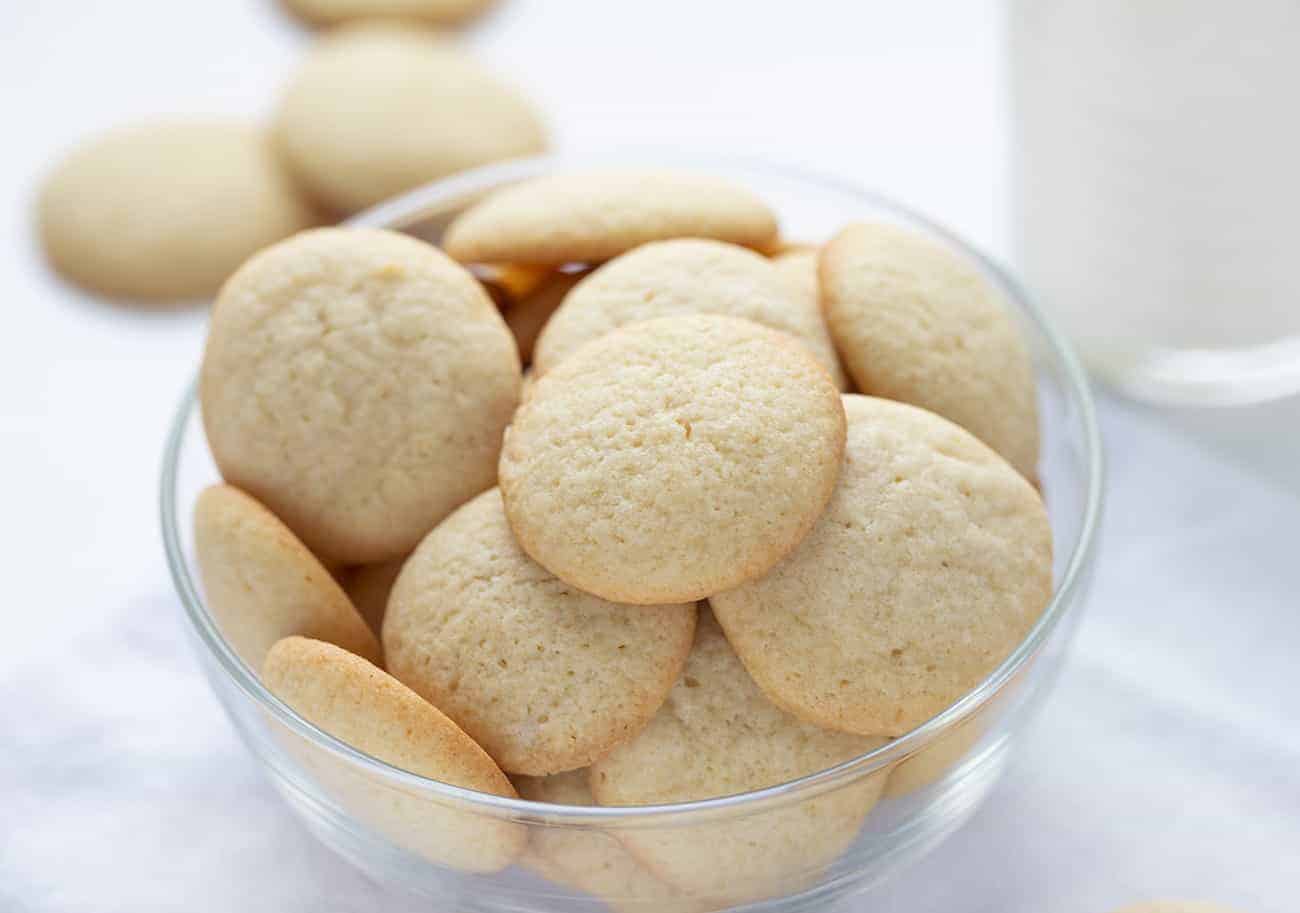
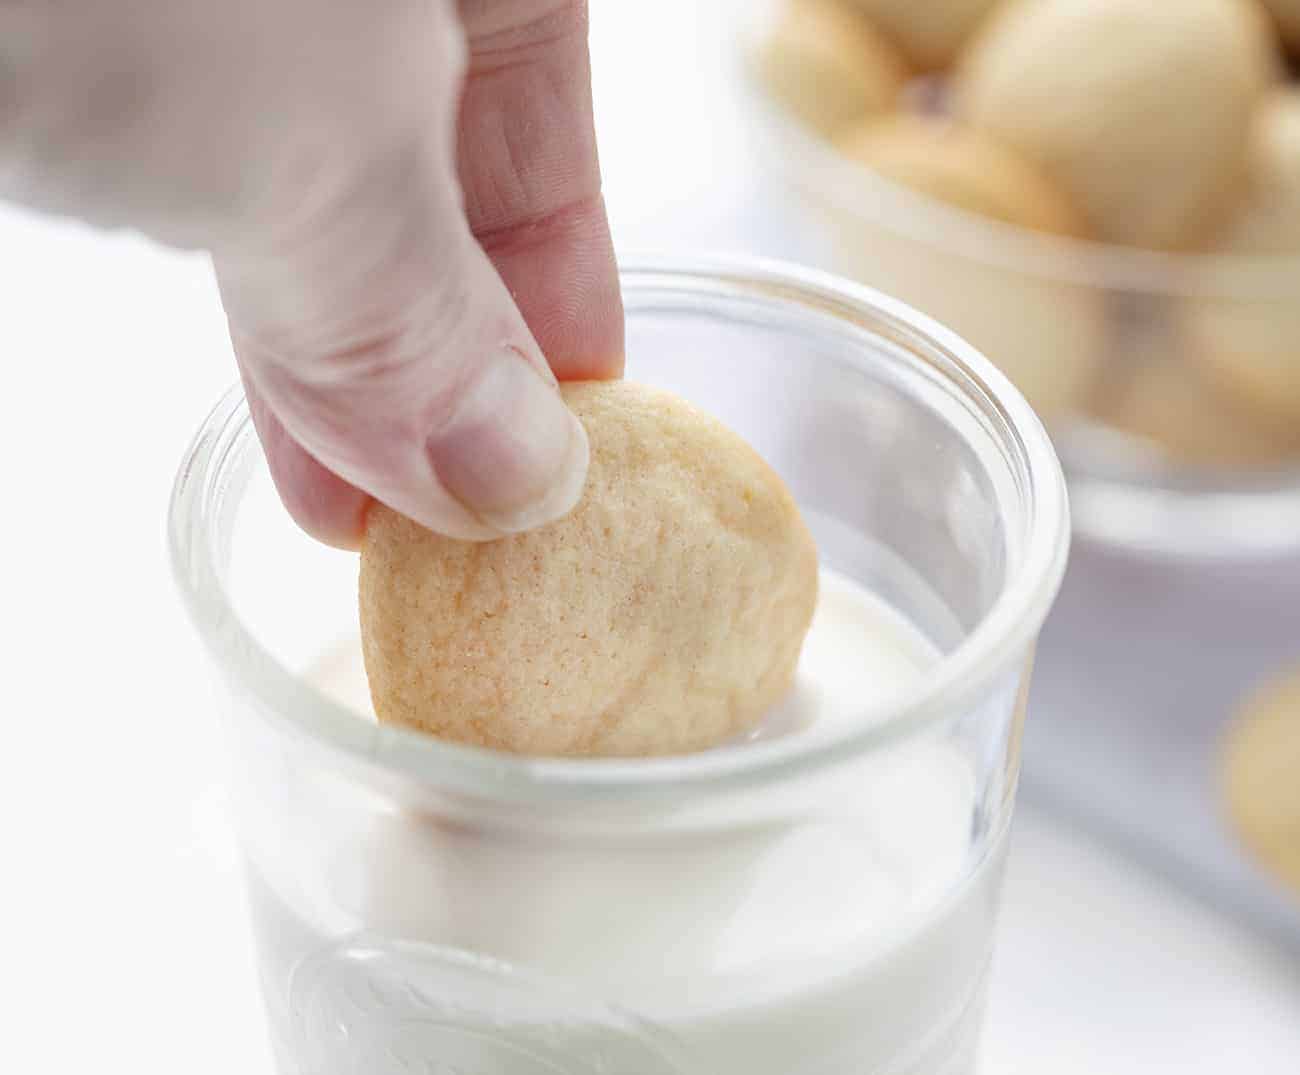
Walk past the cookie aisle and make your own Vanilla Wafers from scratch. They look the same as the ones you would get from the box, but are made with fresh ingredients and a better taste if you ask me! They are most commonly used in banana pudding recipes like my Ultimate Banana Pudding recipe,
Vanilla Wafers
Vanilla wafers, or sugar wafers, have been around for over 100 years. They are fun to use as a crust or just a snack! With all the ways you can use vanilla wafers (or Nilla wafers as they are now called), it’s nice to have a recipe for this popular cookie.
Wafers Recipe
With all the processed foods and snacks out there, it’s refreshing to have options to make our favorite treats from scratch. Plus, you know there will be no artificial ingredients in homemade batches of these Vanilla Wafers.
How to Make Vanilla Wafers
With just a mixer and a parchment-lined baking sheet, you can whip up some of these fun cookies in no time! Of course, you will also need the oven preheated to 350°F.
- In a medium bowl, sift together the flour, baking powder, and salt. Set this bowl aside.
- In the bowl of your stand mixer, cream together butter and sugar on medium speed for at least two minutes, scraping down the sides as needed. (You can also use a hand-held mixer for this recipe if you don’t have a stand mixer.)
- Next, add the egg, vanilla, and milk to the stand mixer bowl and blend these ingredients for about 30 seconds.
- Then, add the flour mixture and mix on low until all the ingredients are fully incorporated.
- Chill the batter for 10-15 minutes. (You can take this time to chill, too!)
- Use a 1/2 teaspoon to scoop out dollops of the batter and place them on the baking sheet. Leave each dollop about one inch apart.
- Bake the wafers for 12-15 minutes, or until golden brown.
- Allow the cookies to cool before serving.
How to Store Vanilla Wafers
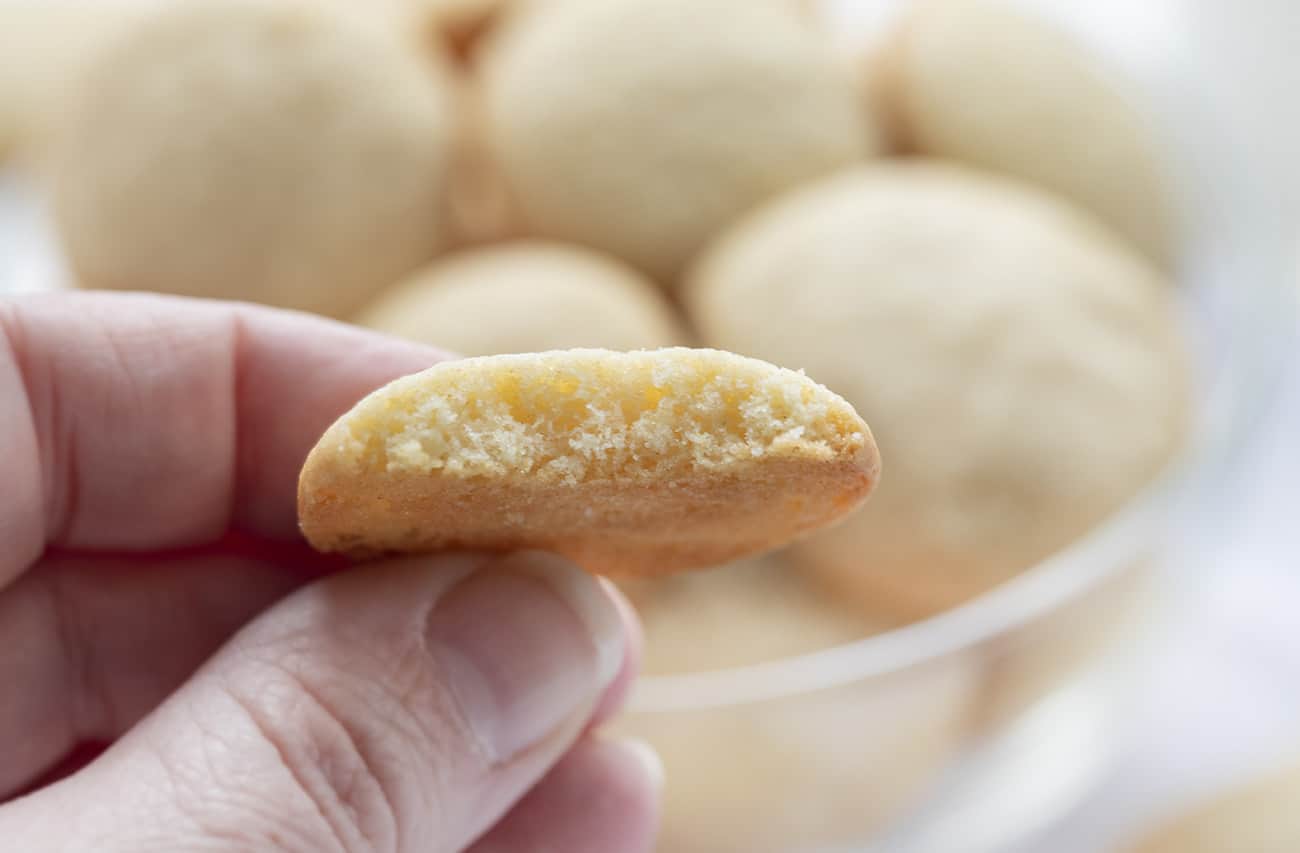
If you want to keep Vanilla Wafers at room temperature, be sure to keep them in an air-tight container. They will last for up to five days. Freezing them is another option. Store them in a zipped plastic bag, making sure to write the date on the bag. The wafers will keep up to a month in the freezer.
Banana Desserts
Vanilla Wafers
Ingredients
- 1 ½ cups all-purpose flour
- ¾ teaspoon baking powder
- ½ teaspoon Kosher salt
- ½ cup unsalted butter, room temperature
- ½ cup confectioners' sugar
- ¼ cup granulated sugar
- 1 large egg, room temperature
- 1 tablespoon vanilla extract
- 1 tablespoon whole milk
Instructions
- Preheat oven to 350°F.
- In a medium bowl, sift together the flour, baking powder, and salt. Set aside.
- In the bowl of a stand mixer, cream together butter, confectioners' sugar, and granulated sugar on medium speed for at least 2 minutes, scraping down the sides as needed.
- Add the egg, vanilla, and milk and blend until smooth and fluffy (about 30 seconds).
- Add the flour mixture and mix on low until fully incorporated.
- Chill the batter for 10-15 minutes.
- Scoop 1/2 teaspoon-sized dollops of the batter (about 1 inch apart) onto a baking sheet lined with parchment.
- Bake 12-15 minutes, rotating pan halfway through baking. Cookies will be golden brown.
- Allow to cool completely before serving.
Did you make this recipe?
Thank you for making my recipe! You took pictures, right? Well go ahead and post them on Instagram! Be sure to mention me @iambaker and use the hashtag #YouAreBaker.
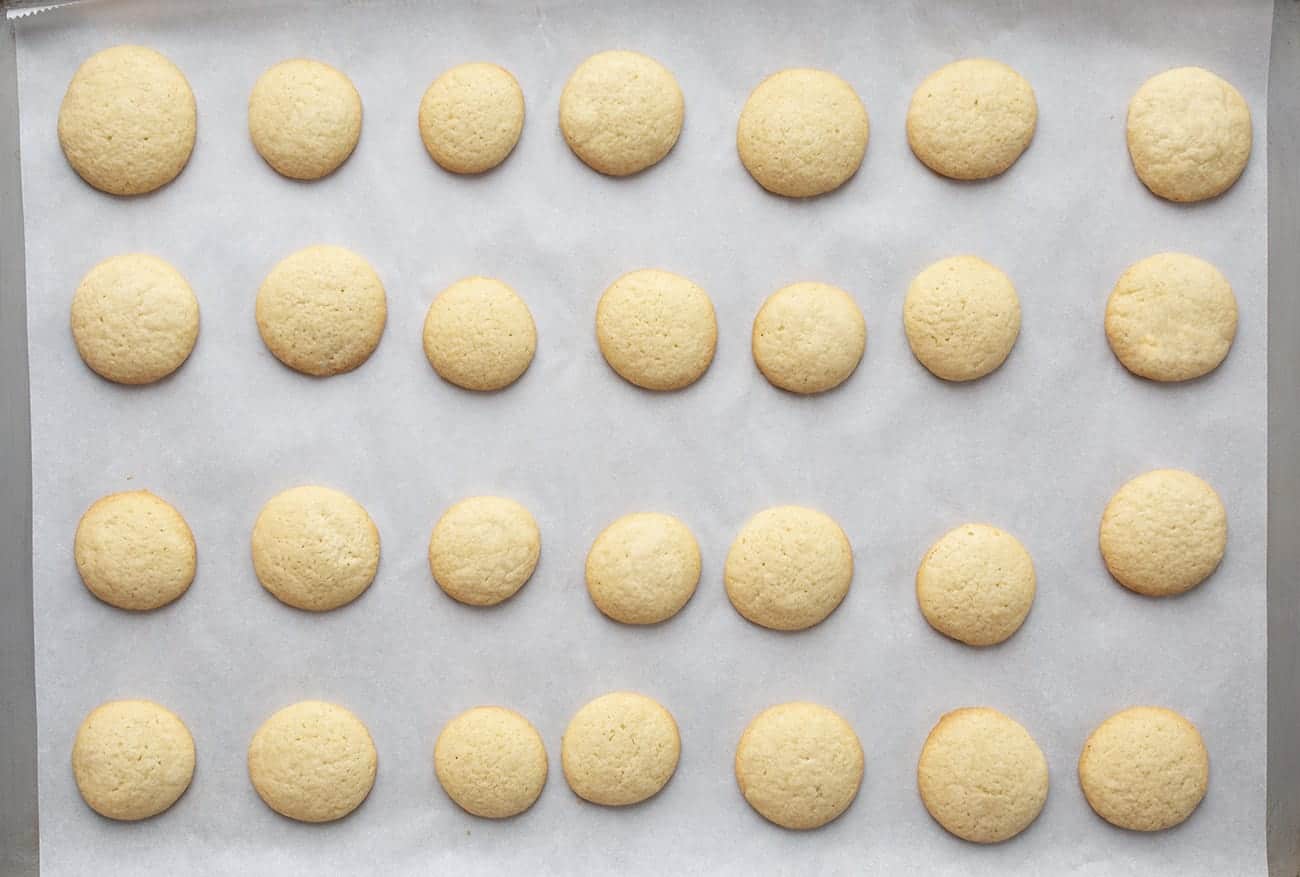
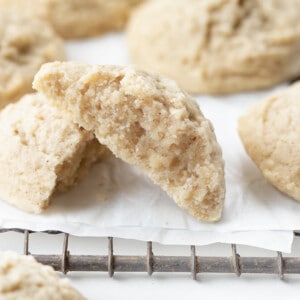



My wafers came out great the first time. I used my smallest cookie scoop then flattened slightly with a wet finger (I read the comments about flattening the cookies).
They looked like your picture – golden brown on the bottom but not so much on the top (12 minutes at 350). I baked the second sheet of cookies at 325 for the full 16 minutes to see if they would brown on top. No difference, but it didn’t matter – they were good!
I’m going to try different flavorings, like almond or anise.
Why is confectioner sugar crossed out,but included in instructions
It is not crossed out. Not sure what you are referring to.
It’s crossed out because you clicked it. It’s an active web page that allows you to cross off ingredients as you use them.
1/2 teaspoon or 1/2 tablespoon for the cookie dough?
The recipe says 1/2 teaspoon.
Just baked these cookies today. My three year old granddaughter helped me make and eat them. They were quite a hit. Thanks for the recipe.
how can you tell if vanilla wafers are underbaked? will the wafers be more chewy if they are underbaked?
I may be blind and missing it, but what is the yield?
It says 70 wafers
What what are your thoughts on running this through a hopper with a dye cutter. I’m trying to find a large batch recipe for these. I’ve used yours for my mock up but wasn’t quite the same. Just asking for ideas.
The ingredient list says 1 tablespoon vanilla but when you answered a question you said 1/2 teaspoon. Can you clarify?
The 1/2 tsp. measurement was referring to the amount of dough/batter used per cookie. The vanilla measurement should be 1 Tbsp.
Can you use 2% or a substitute milk?