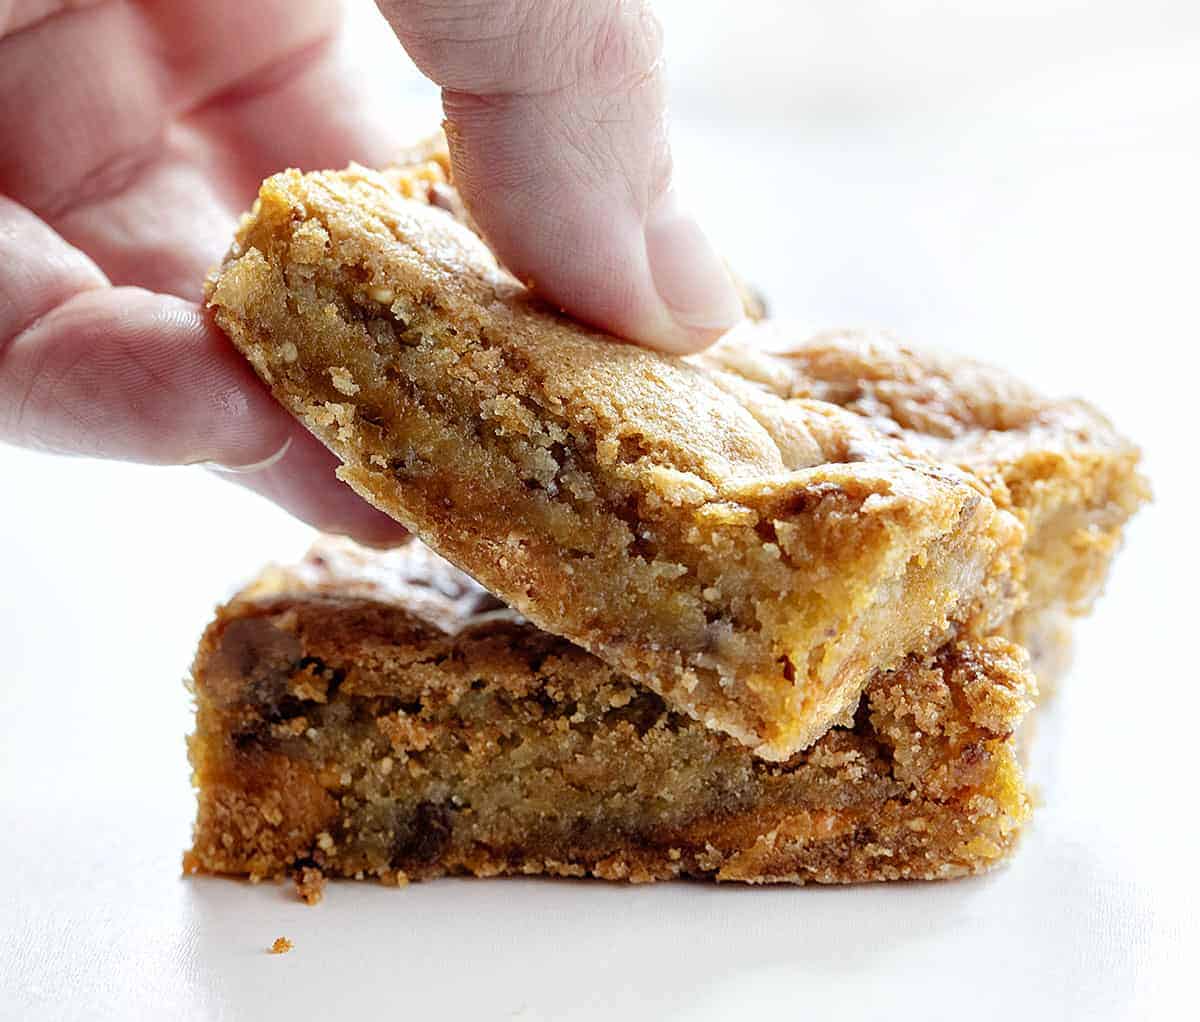
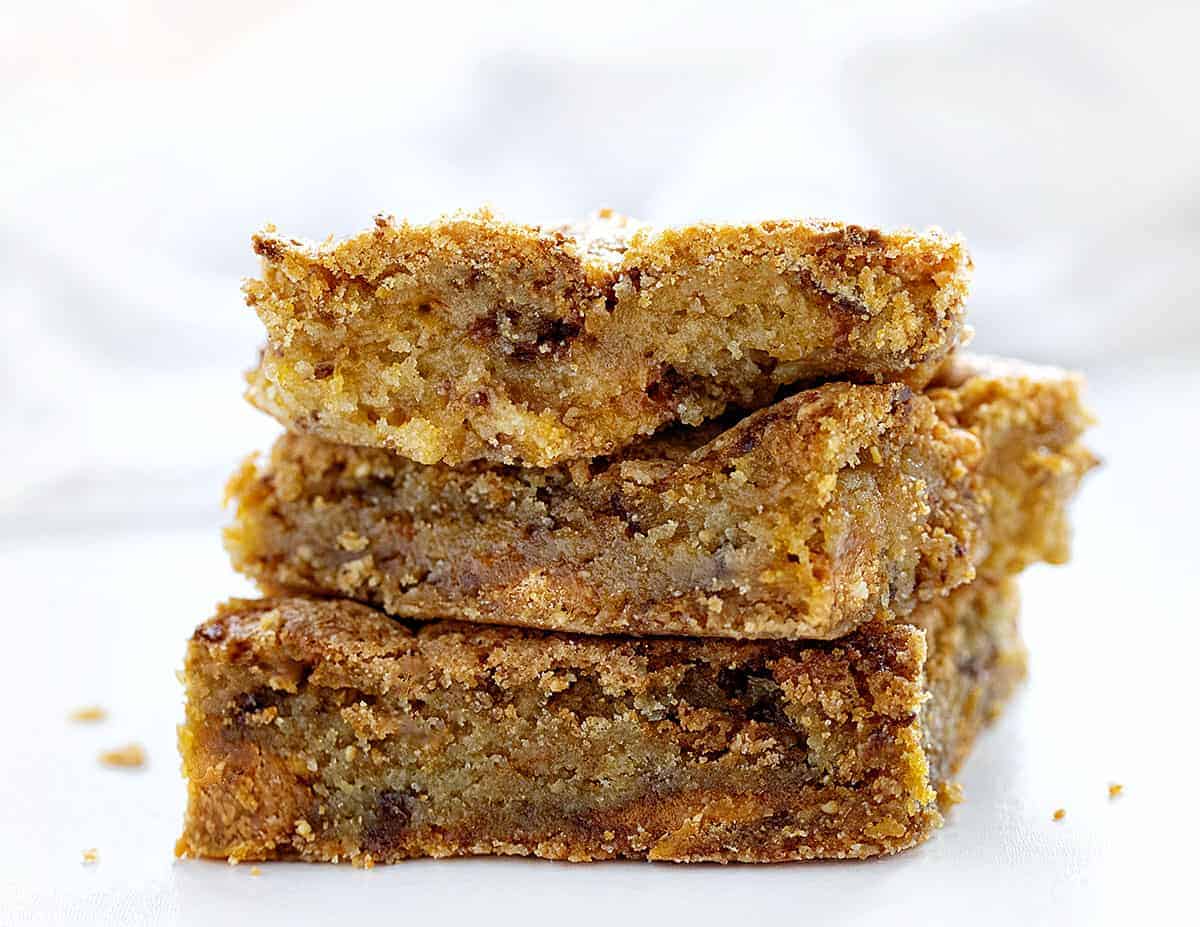
Everyone will want to ‘lay a finger’ on these Butterfinger Bars! They are too good not to share, and you will prefer these bars to the candy bar. If you are looking for more bars to share, check out my Chocolate Toffee Bars and Butterscotch Zucchini Bars!
Butterfinger Bars
When Butterfinger candy bars were first introduced, the Curtiss Candy Company dropped the candy bar out of airplanes. The hope was that this would bring popularity to the candy bar. In addition to dropping them out of planes, another marketing strategy was to have a contest to name the candy bar. The name was submitted by a man who claimed to be a klutz. He related himself to the ballplayers who were being called ‘butterfingers’ when they couldn’t hang on to the ball. Well, I think the strategies worked because Butterfingers have been around for almost 100 years! You will not want to drop any of these Butterfinger Bars out of your hands or any planes because you will want to eat them all!
Butterfinger Bars Recipe
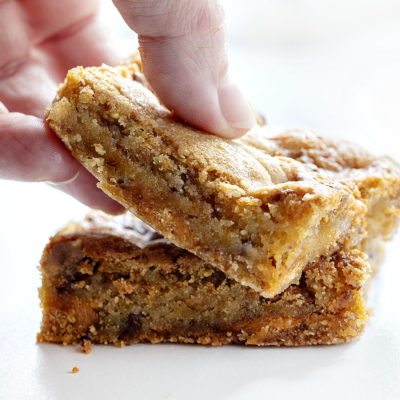
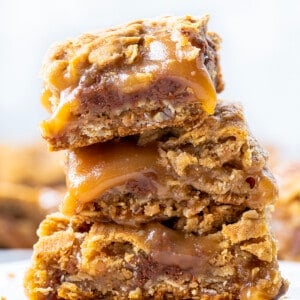
Butterfinger Bars are a chewy and rich treat that is perfect for a party or potluck. Kids and adults alike will love this bar using the taste and crunch of the classic Butterfinger candy bar.
Ingredients
- Butter: When baking with butter, it’s always best to use room-temperature butter. This makes a difference in the texture of the final product. Take out your butter about 30 minutes prior to using it. If you want to get technical, it should be at 58°F. Or, simply touch the butter with your finger, and if it leaves a slight imprint, it’s good to go😀.
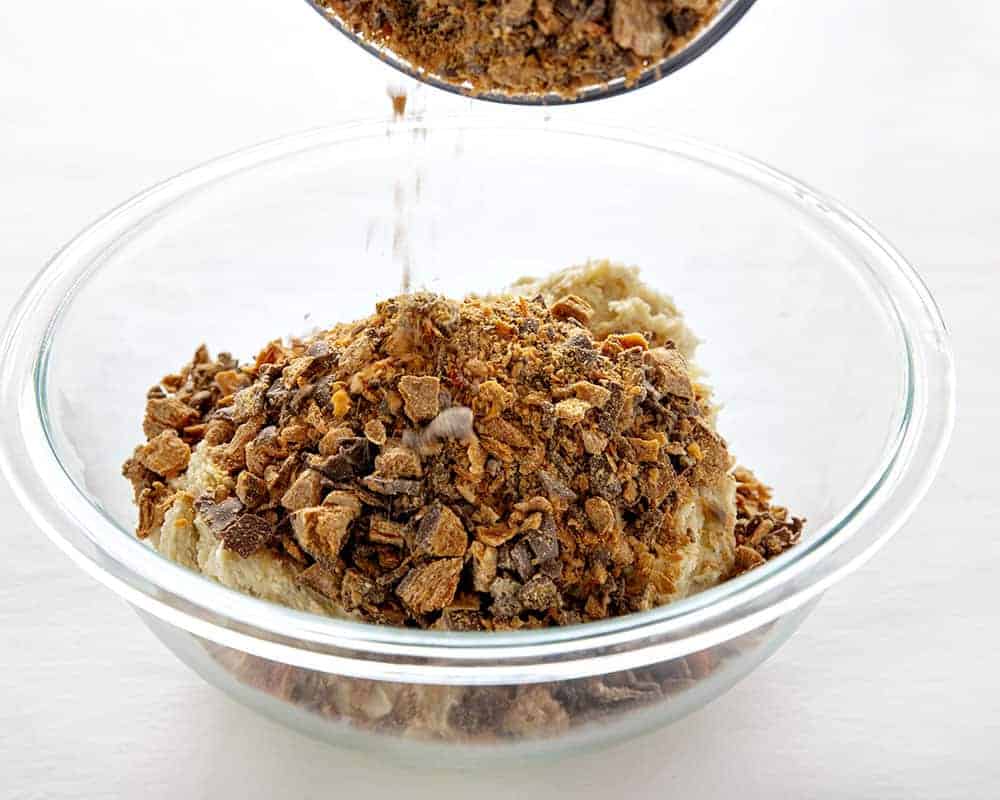
- Butterfingers: Use chopped butterfingers for this recipe. I remember as a kid I would always have to smash the candy bar myself to get it chopped for my ice cream. Now, of course, you can buy the Butterfinger already chopped! But hey, if you need to get out some aggression, do it the old-fashioned way!
How to Make Butterfinger Bars
These are baked bars, so preheat the oven to 350°F and spray a 9×13-inch pan with non-stick spray while you prepare the dough. It’s all about mixing everything together. Start by creaming together the butter and sugar with a handheld mixer. If you prefer a stand mixer, go ahead and use that (like you need my permission😉). Mix on medium-high for about 3 minutes. Next, add in eggs, one at a time, and mix on medium until fully incorporated. Follow by mixing the rest of the ingredients, but leave a half cup of the Butterfinger pieces. You will be adding the pieces to the dough before baking. Once everything is mixed together, spread the dough in the prepared pan and press flat. I just use my hands, but a spatula works great, too. Finally, sprinkle the remaining Butterfinger pieces on top and bake for 18-25 minutes.
Are my Butterfinger Bars Done?
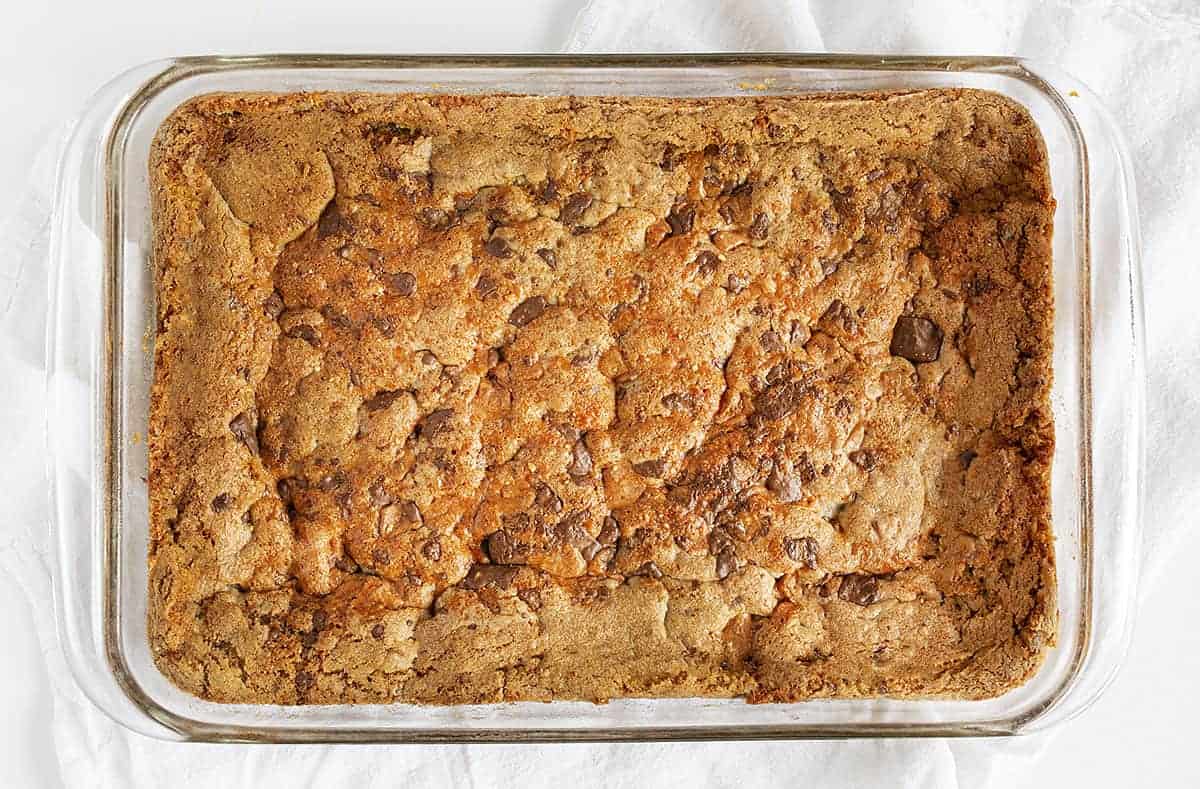
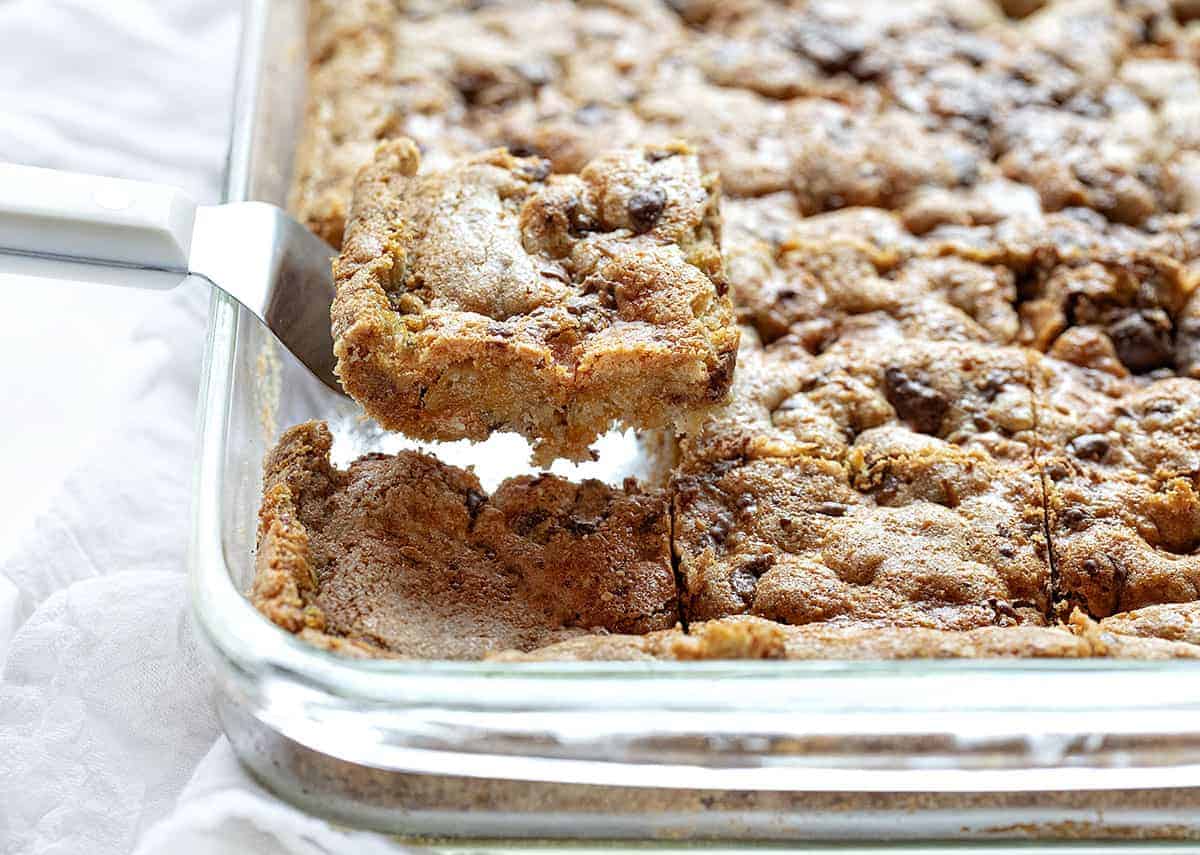
How often have you asked yourself, “Is this done”? Well, it really depends on what you are baking. For bars, having them undercooked is better than overcooked. I suggest using a toothpick to check for doneness. If the toothpick pulls out with a few crumbs, your bars are ready to be taken out of the oven. On the other hand, the toothpick should not have a bunch of batter sticking to it. Bake the Butterfinger Bars a few more minutes if that is the case. Another way to check that your bars will be moist and perfectly baked is to touch the top of the bars. If you can press down and the batter doesn’t spring back, they are good to go!
Looking for More Bar Recipes to Share?
Butterfinger Bars
Ingredients
- 1 cup (2 sticks or 226g) unsalted butter, room temperature
- 1 ½ cups (300g) granulated sugar
- 1 tablespoon vanilla
- 2 large eggs, room temperature
- 2 ½ cups (312g) all-purpose flour
- 1 teaspoon baking soda
- ½ teaspoon kosher salt
- 2 cups chopped butterfingers
Instructions
- Preheat oven to 350°F. Spray a 9x13 pan with non-stick spray or the butter & flour method.
- In a medium bowl and using a hand-held mixer (or in a stand mixer with a paddle attachment) cream together the butter and sugar on medium-high for about 3 minutes.
- Add in eggs, one at a time, and mix until fully incorporated.
- Add in vanilla and mix well.
- Add the salt, baking soda, and flour to the butter mixture and mix on medium until just combined. Add 1 ½ cups of the chopped Butterfinger (reserve ½ cup for sprinkling over the batter in the pan before baking.) Incorporate with the mixer on low.
- Press the Butterfinger dough into the prepared 9x13 pan and press flat with a clean hand or a spatula. Sprinkle the remaining chopped Butterfinger over the dough.
- Bake for 18-25 minutes or until the edges are golden brown. An inserted toothpick should be removed with crumbs, but not wet batter. IT IS IMPORTANT to not overbake these bars, they should be just set and will continue to bake a little out of the oven. They should be ooey-gooey.
- Bars can be served warm or cold. Store in a sealed container on the counter for up to 3 days.
Did you make this recipe?
Thank you for making my recipe! You took pictures, right? Well go ahead and post them on Instagram! Be sure to mention me @iambaker and use the hashtag #YouAreBaker.


Love your recipes. Cannot find in recipe books. Love seeing your recipes on Facebook and instructions are so easy to follow.
Can you use any kind of candy bar
I just made these, they are just AMAZING. The recipe says only 5 ingredients, they are correct, but what they don’t tell you is that these are VERY hard ( I should say,) they take a lot of work and time to make them. BUT totally worth it.
These are 1 of the best treats I’ve made in a long time. If you have time, I absolutely recommend these.
Thank you
What are butterfinger candy bars and what can I use as a substitute?
What are butterfingers. From Yvonne (UK)
It is a candy bar.
any chance a nut butter would work in place of the candy bar. my daughter has nut allergies so we substitute SunButter in every peanut butter recipe.
For those in the UK and Australia. A Butterfinger candy bar is a flaky crispy peanut butter bar dipped in chocolate. If you’ve ever heard of Clark bar they’re very similar.
Everything looks yummy and very rich.